Deploying ElmapiCMS on Laravel Cloud
Laravel Cloud is an official platform by the Laravel team that simplifies deployment, scaling, and managing Laravel applications in production. It's tightly integrated with the Laravel ecosystem and ideal for hosting ElmapiCMS with minimal configuration.
In this guide, you'll learn how to deploy ElmapiCMS to Laravel Cloud in a few straightforward steps—from project setup to production deployment—so you can launch your CMS quickly and reliably.
For more information you can visit the Laravel Cloud Documentation.
1. Prerequisites
Before you begin, ensure you have:
- A Laravel Cloud account (Laravel Cloud)
- A Git repository Laravel Cloud can deploy from (see below)
2. Prepare a Git repository
See Deployment overview for the fork rule. You must not point Laravel Cloud at the vendor private repository you were invited to.
Shop / GitHub access: fork the private repository into your account. In Laravel Cloud, select your fork and the branch you deploy from (often main). Keep the fork up to date when new versions ship.
CodeCanyon: extract elmapicms.zip, then create a repository you control and push the app to it. Steps are in For CodeCanyon buyers.
3. Laravel Cloud Setup
Create a New Application
- Log in to your Laravel Cloud dashboard
- Click "+ New Application"
- Choose your git provider
- Give access to your git account
- Select the repository you want to deploy
- Give your application a name
- Choose your region
- Click "New Application"
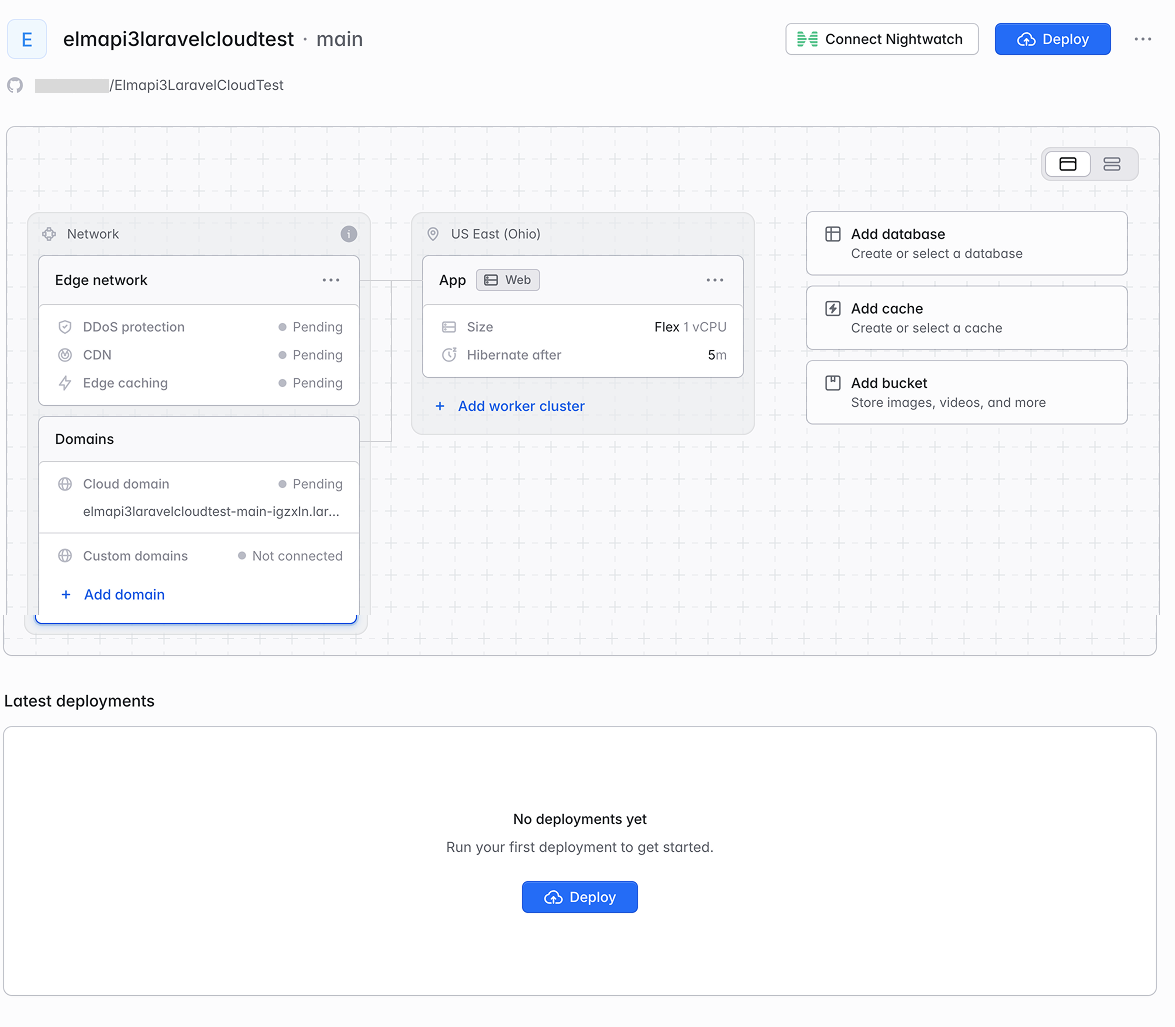
4. Add Database
- In Environments Page find "Add Database" and click on it.
- Customize your database settings and click "Create Database Cluster"
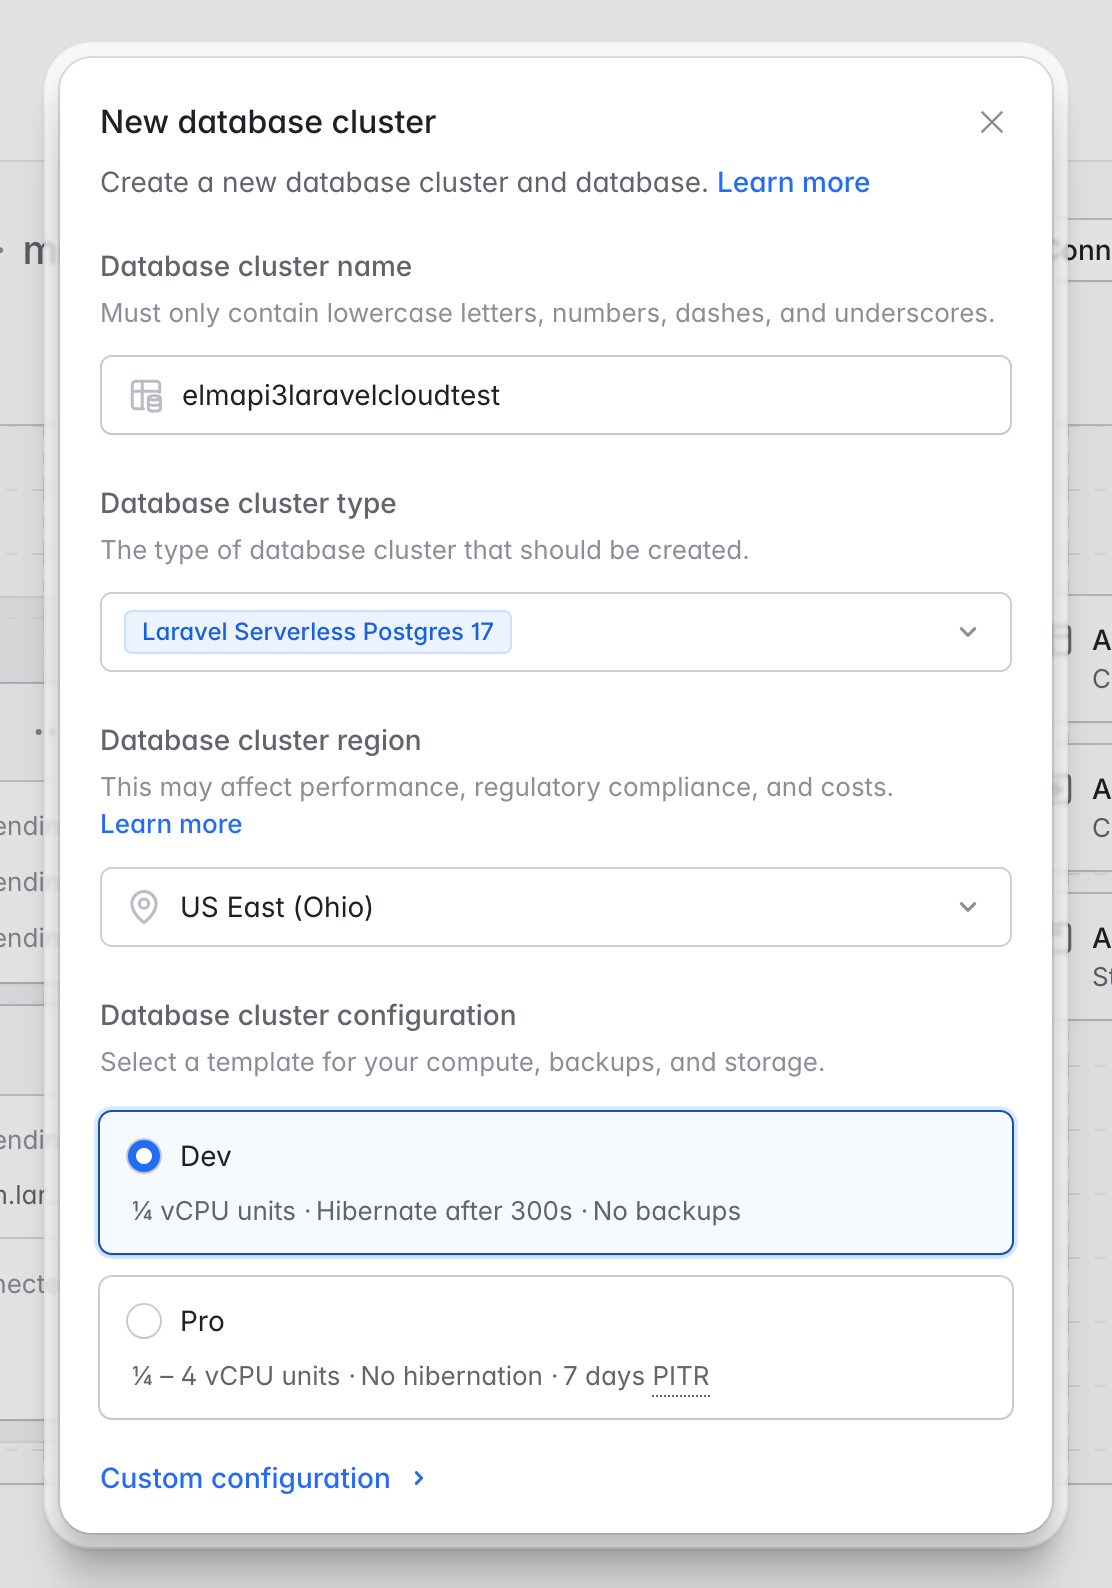
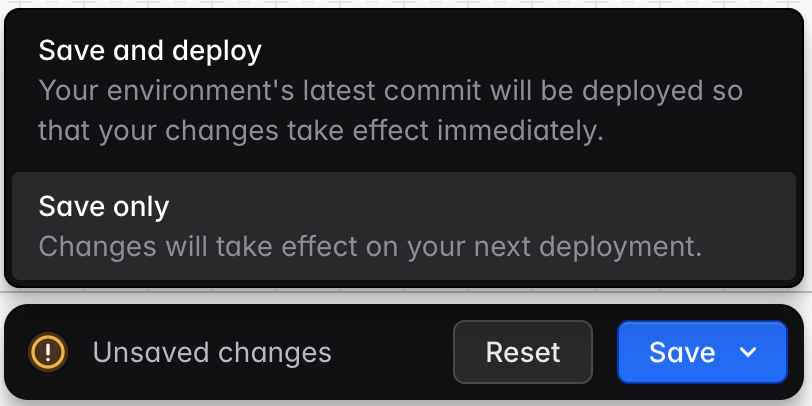
Click "Save Only" to save the configuration without triggering an automatic deployment.
5. Add Bucket for File Storage
- In Environments Page find "Add Bucket" and click on it.
- Click "Create a Bucket"
- Select "Public" in the Visibility section.
- Customize your bucket settings and click "Create Bucket"
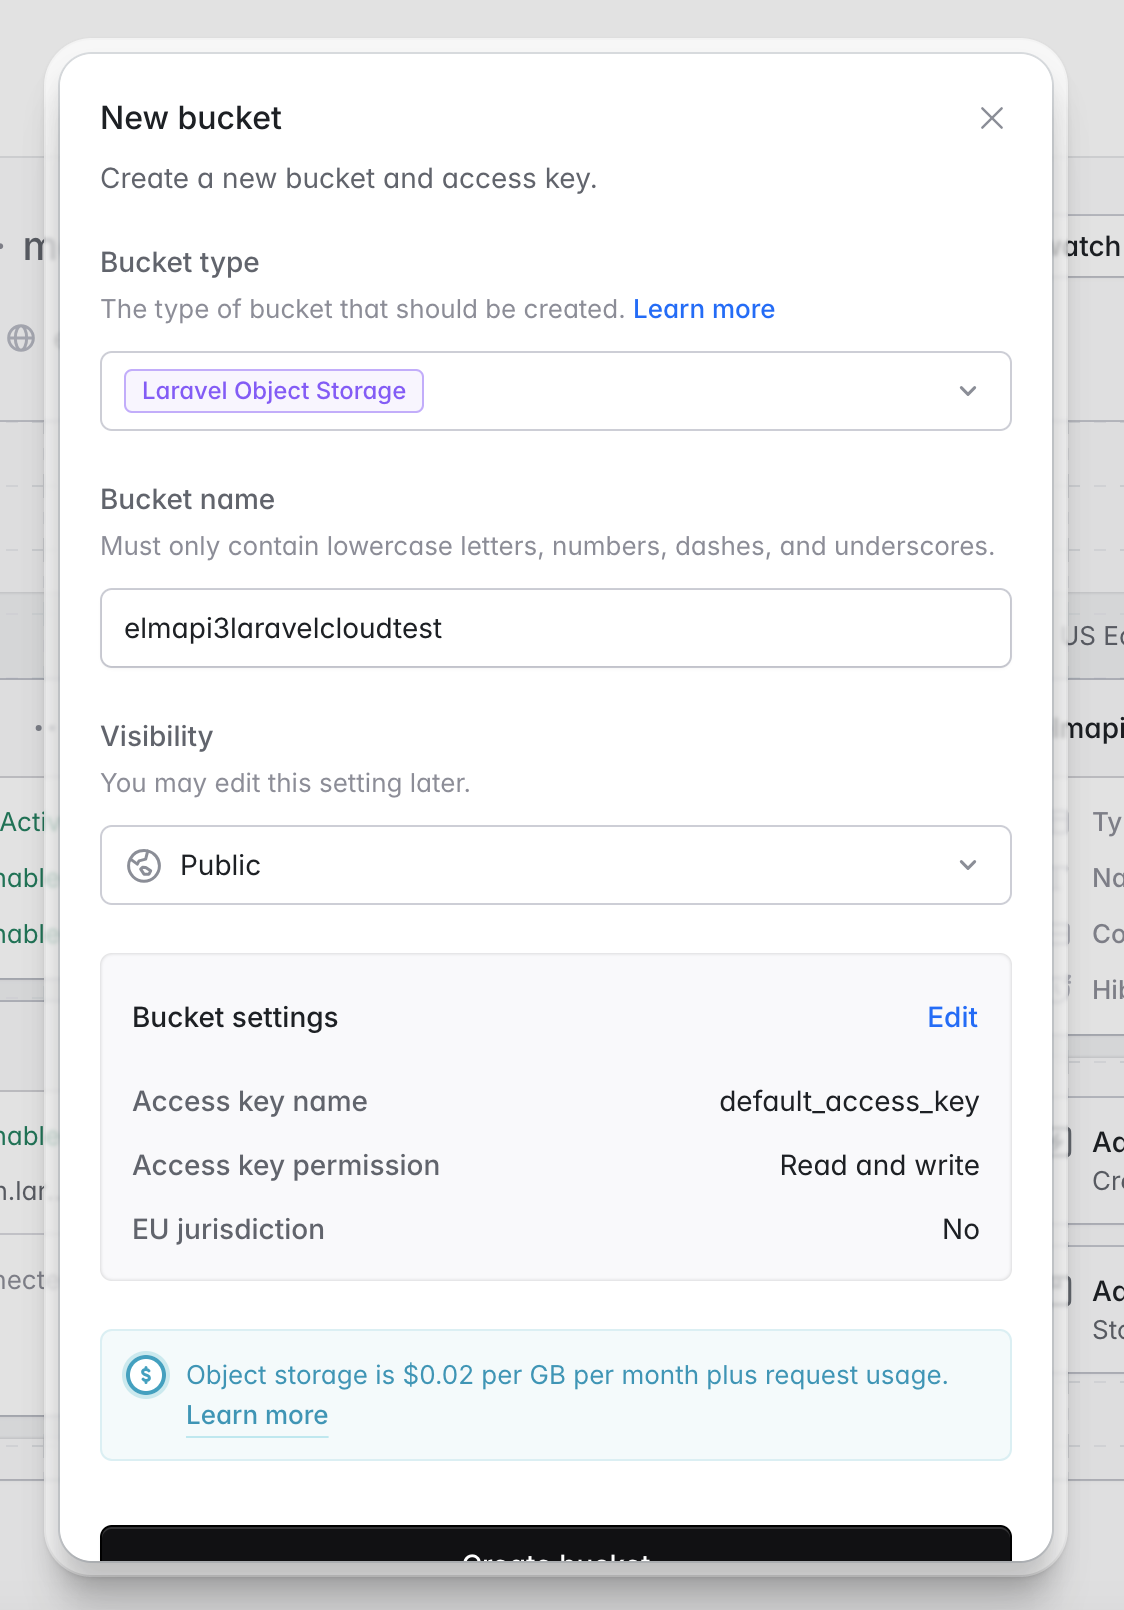
- In the next window "Disk name" should be "public"
- Click "Add Bucket"
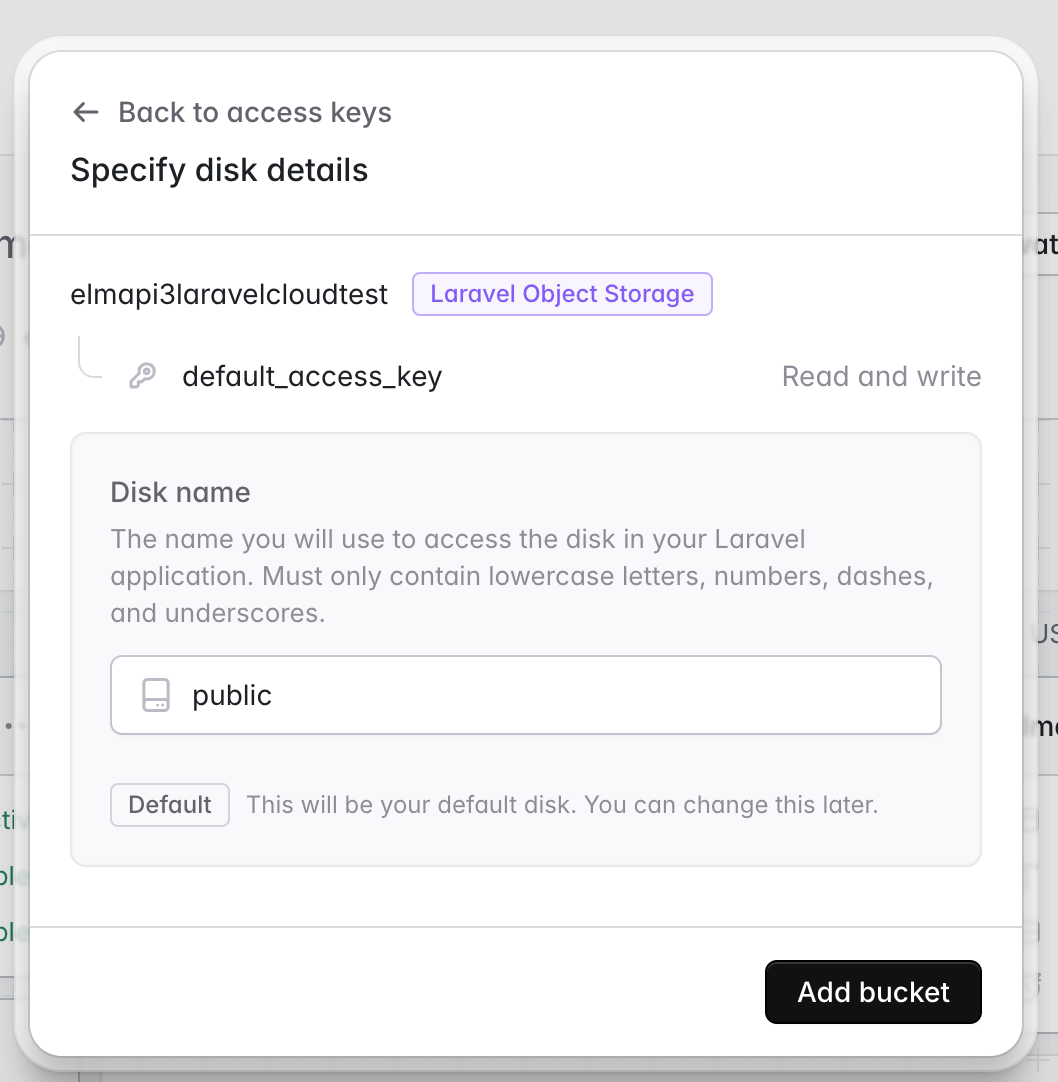
Click "Save Only" to save the configuration without triggering an automatic deployment.
6. Deploy Application
In Environments Page find "deployments" section and click on "Deploy".
Laravel Cloud will handle the deployment automatically. Wait for it to complete.
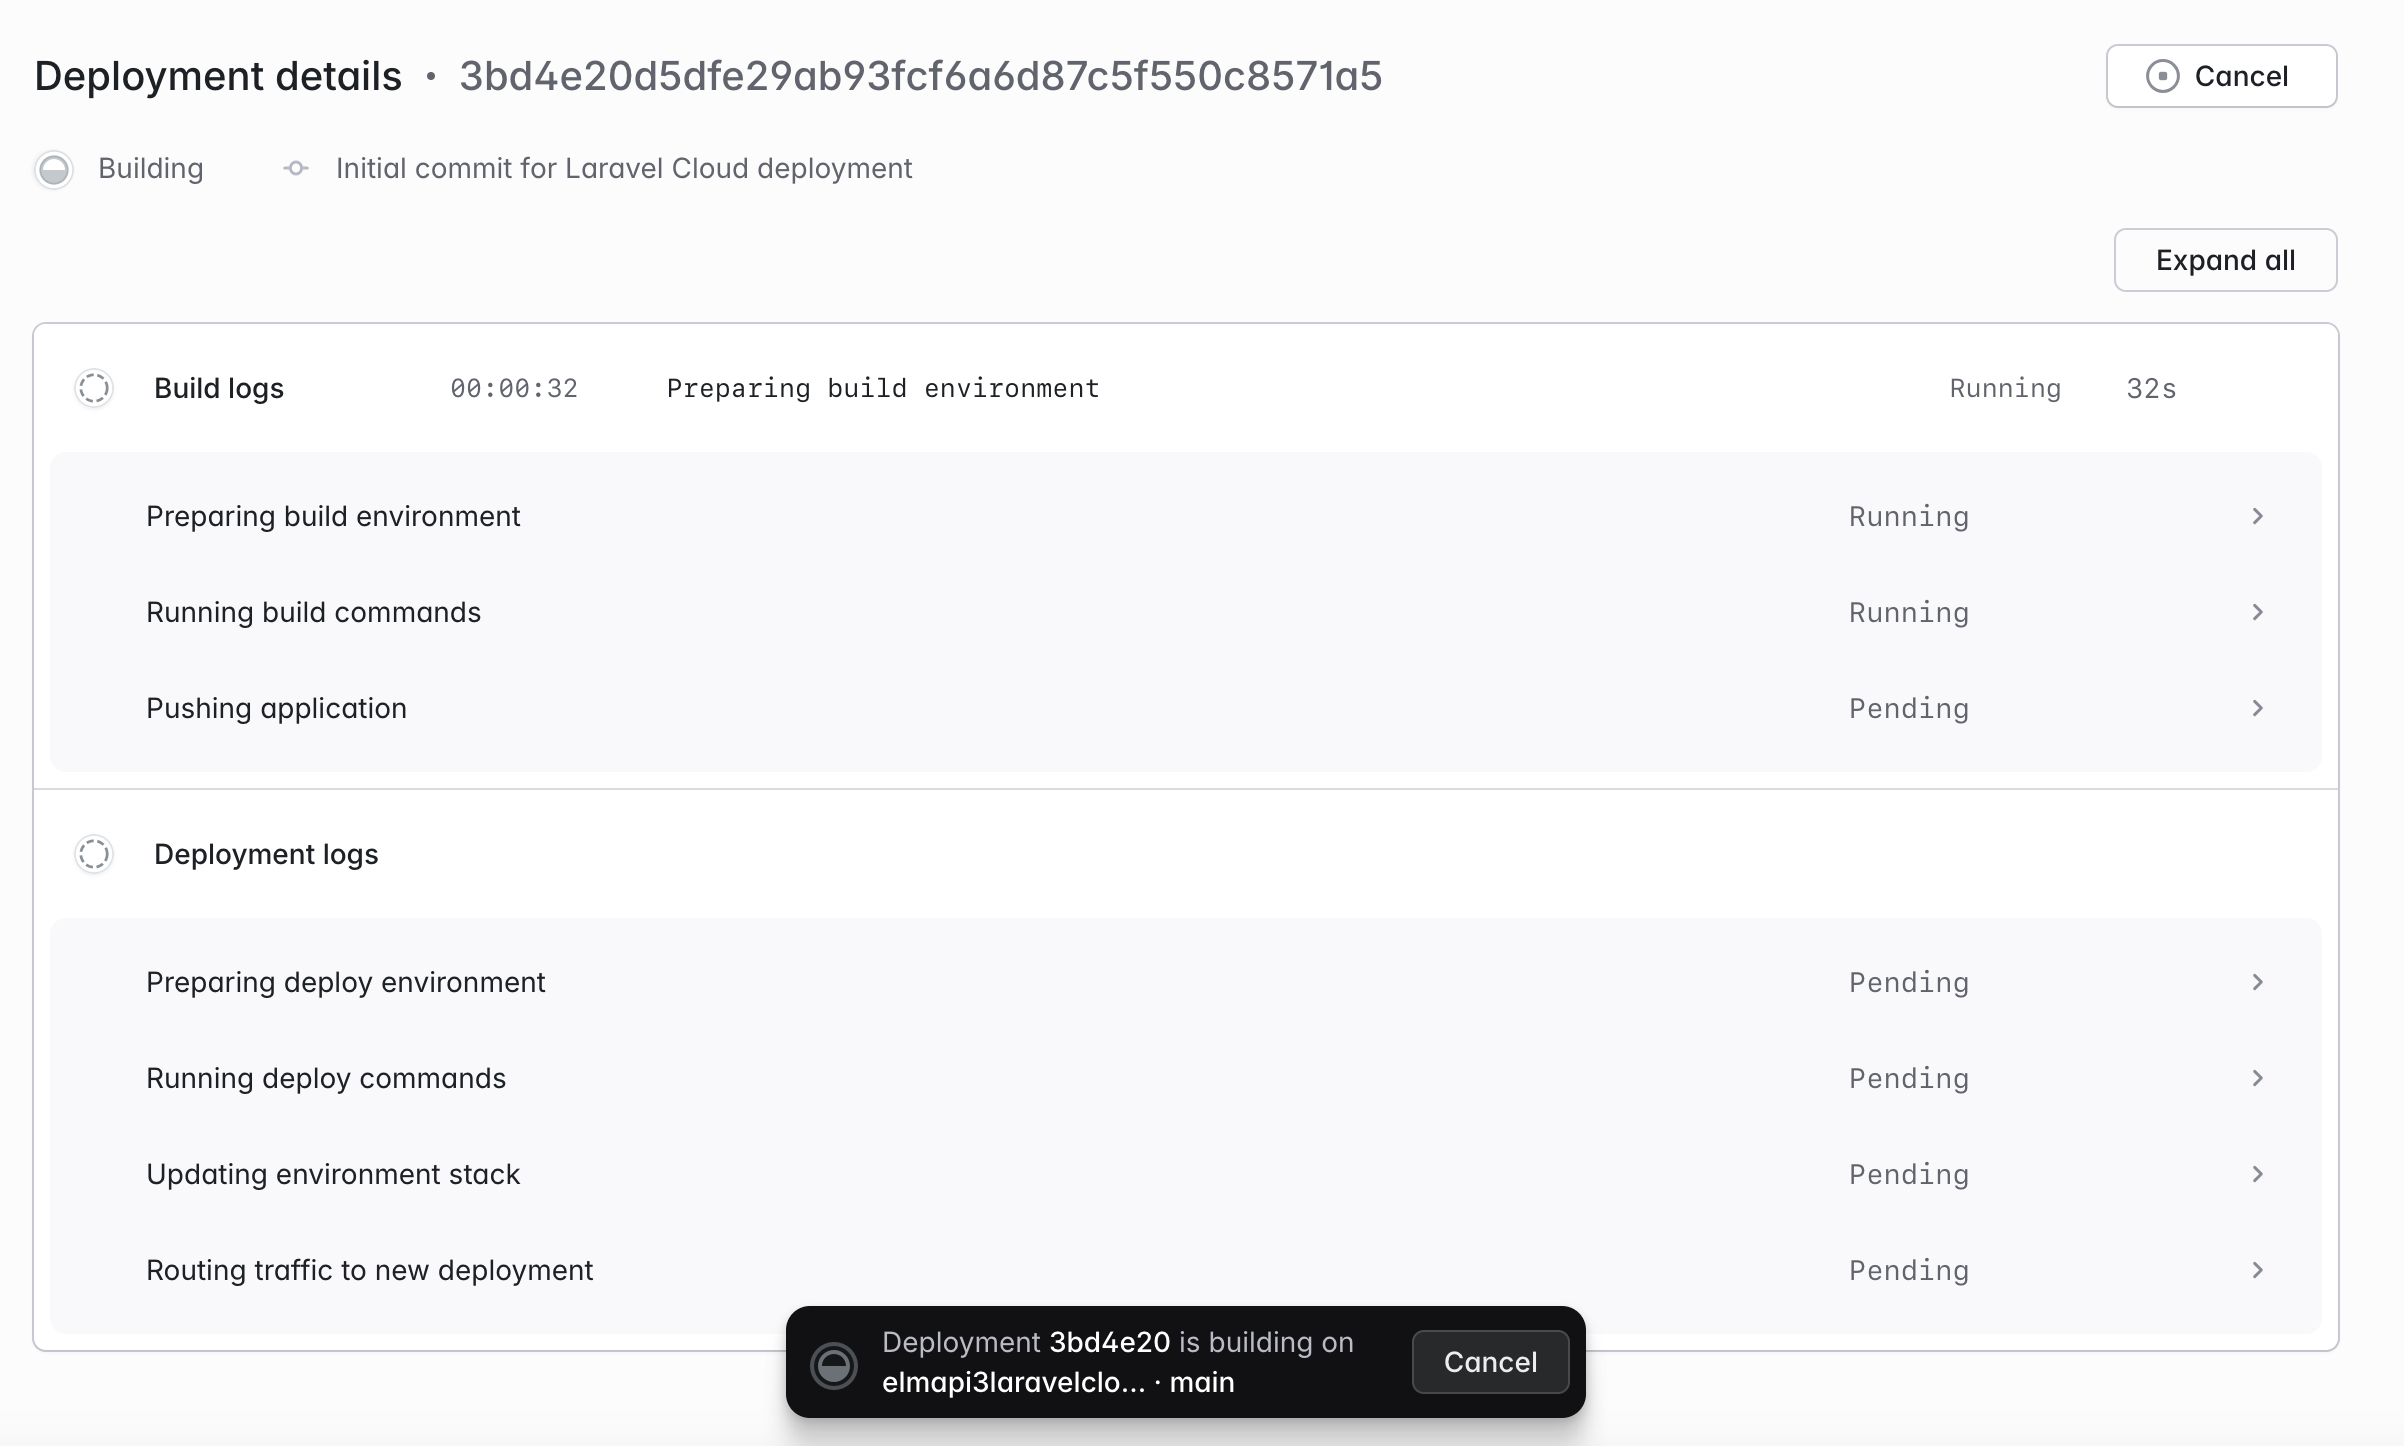
If the deployment fails, check the Logs section for error output or misconfiguration.
7. Migrate and Seed Database
- Go to Commands Section.
- Type
php artisan migrate --seed --forceand click on "Run Command"
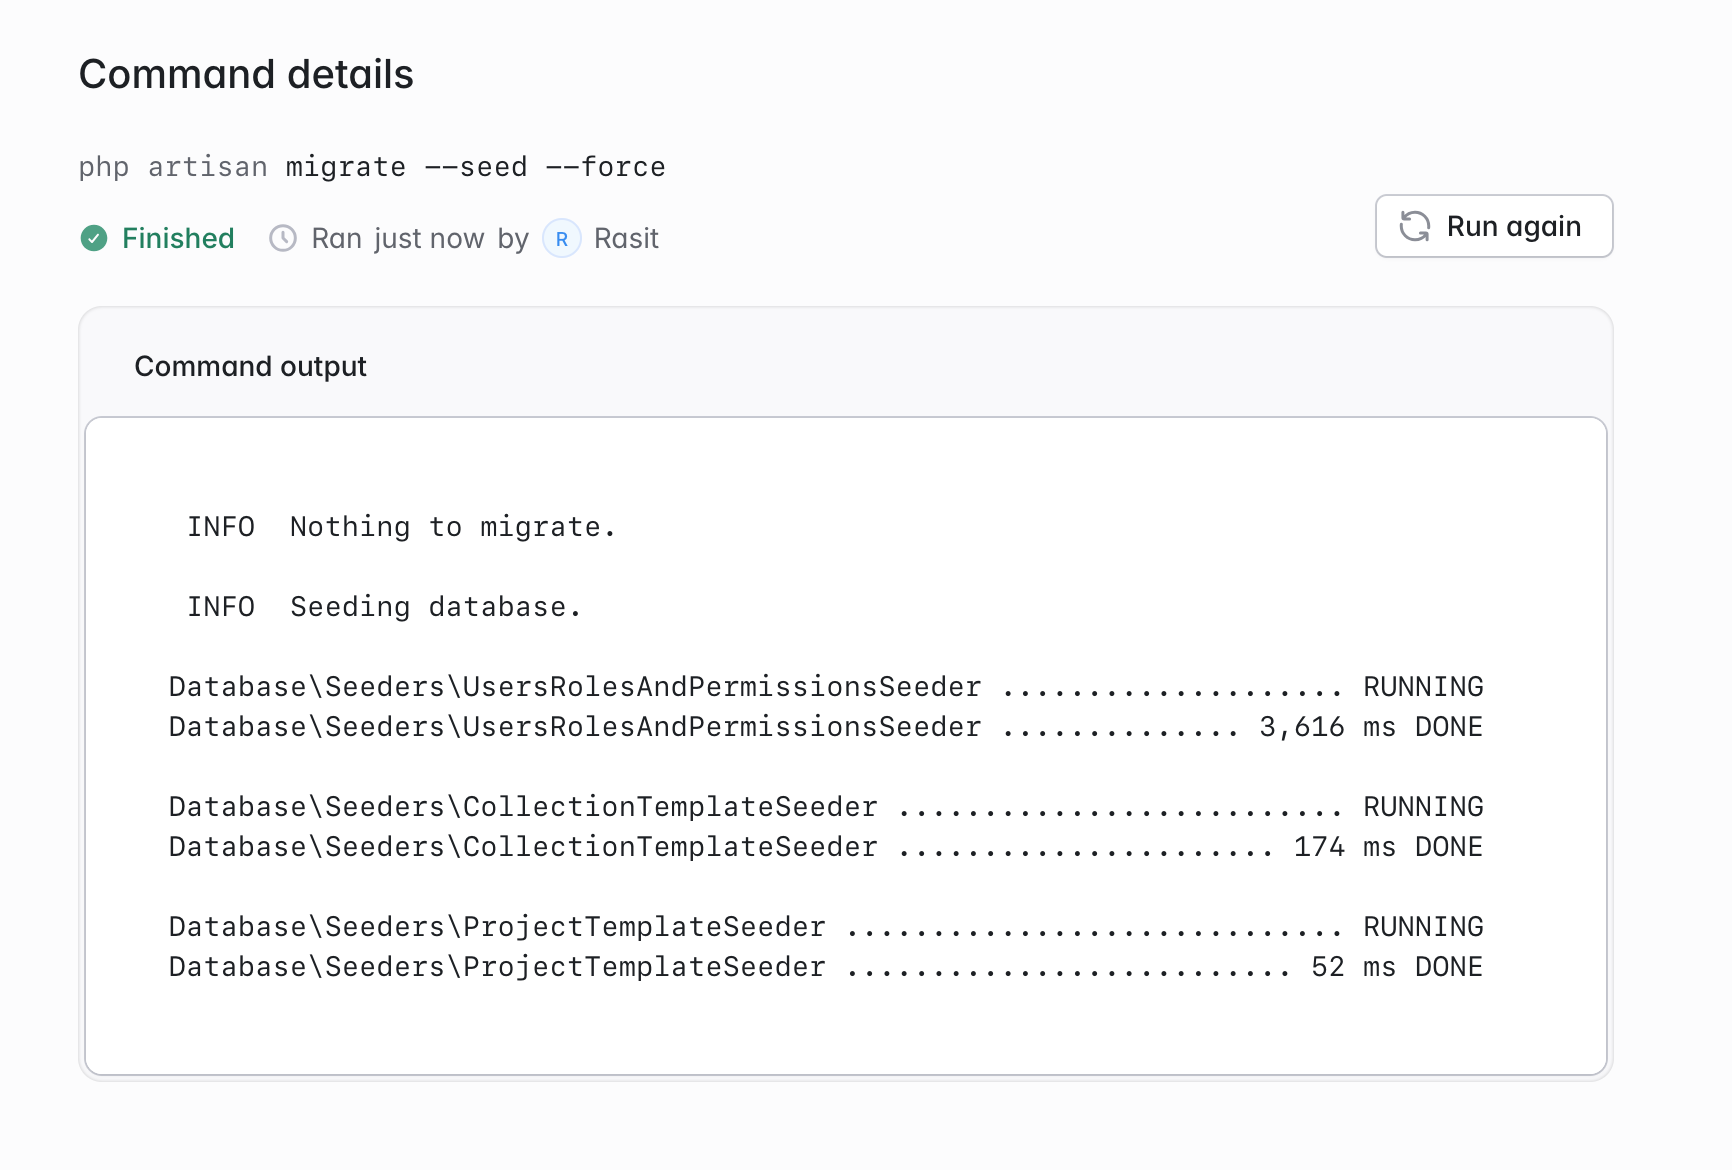
If you see a warning message about "Hibernation", click "Wake Application" text. Learn more about Hibernation.
8. Visit Your Application
- Go to Environments Page.
- Laravel Cloud will assign an URL, go to the URL and you will see your application.
9. Login
When seeding the database, an admin account is created. You can log in to your account using the following credentials:
Email:
[email protected]Password:
passwordRemember to change your email and password after login.
10. Webhook Setup
To ensure webhooks are sent, you must configure a Worker process in Laravel Cloud to handle the queue.
- From your Environment page in Laravel Cloud, click on Workers.
- Click Add Worker.
- Configure the worker with the following settings:
- Connection:
database(orredisif you have it configured). - Queue:
webhooks - Processes:
1 - Daemon: Keep this box checked. This runs the
queue:workcommand continuously.
- Connection:
- Click Add Worker.
Laravel Cloud will now automatically manage your queue worker. For more details on queue drivers, see the Configuring Queues for Webhooks guide.