From zero to deployed in 15 minutes
You want to build a Next.js site with a headless CMS. You don't want to spend hours configuring. This guide gets you from nothing to a working blog with ElmapiCMS as fast as possible.
Table of Contents
- What We're Building
- Prerequisites
- Step 1: Set Up ElmapiCMS
- Step 2: Create Next.js Project
- Step 3: Install ElmapiCMS SDK
- Step 4: Configure Environment
- Step 5: Create CMS Client
- Step 6: Build Blog Pages
- Step 7: Add Revalidation
- Deploy
- Next Steps
What We're Building
A blog with:
- Blog listing page with pagination
- Individual blog post pages
- Automatic revalidation when content changes
- TypeScript throughout
- Tailwind CSS styling
Tech stack:
- Next.js 16 (App Router)
- ElmapiCMS (self-hosted)
- TypeScript
- Tailwind CSS
Prerequisites
- Node.js 18+
- ElmapiCMS installed (installation guide)
- Basic familiarity with Next.js
Step 1: Set Up ElmapiCMS
If you haven't already, get ElmapiCMS running:
# Using Docker
cd ~/projects/elmapicms
composer install
cp .env.example .env
php artisan key:generate
php artisan sail:install
./vendor/bin/sail up -d
./vendor/bin/sail artisan migrate --seed
Create a Project
- Go to
http://localhost:8000 - Log in ([email protected] / password)
- Click "Create Project"
- Name it "My Blog"
Create Posts Collection
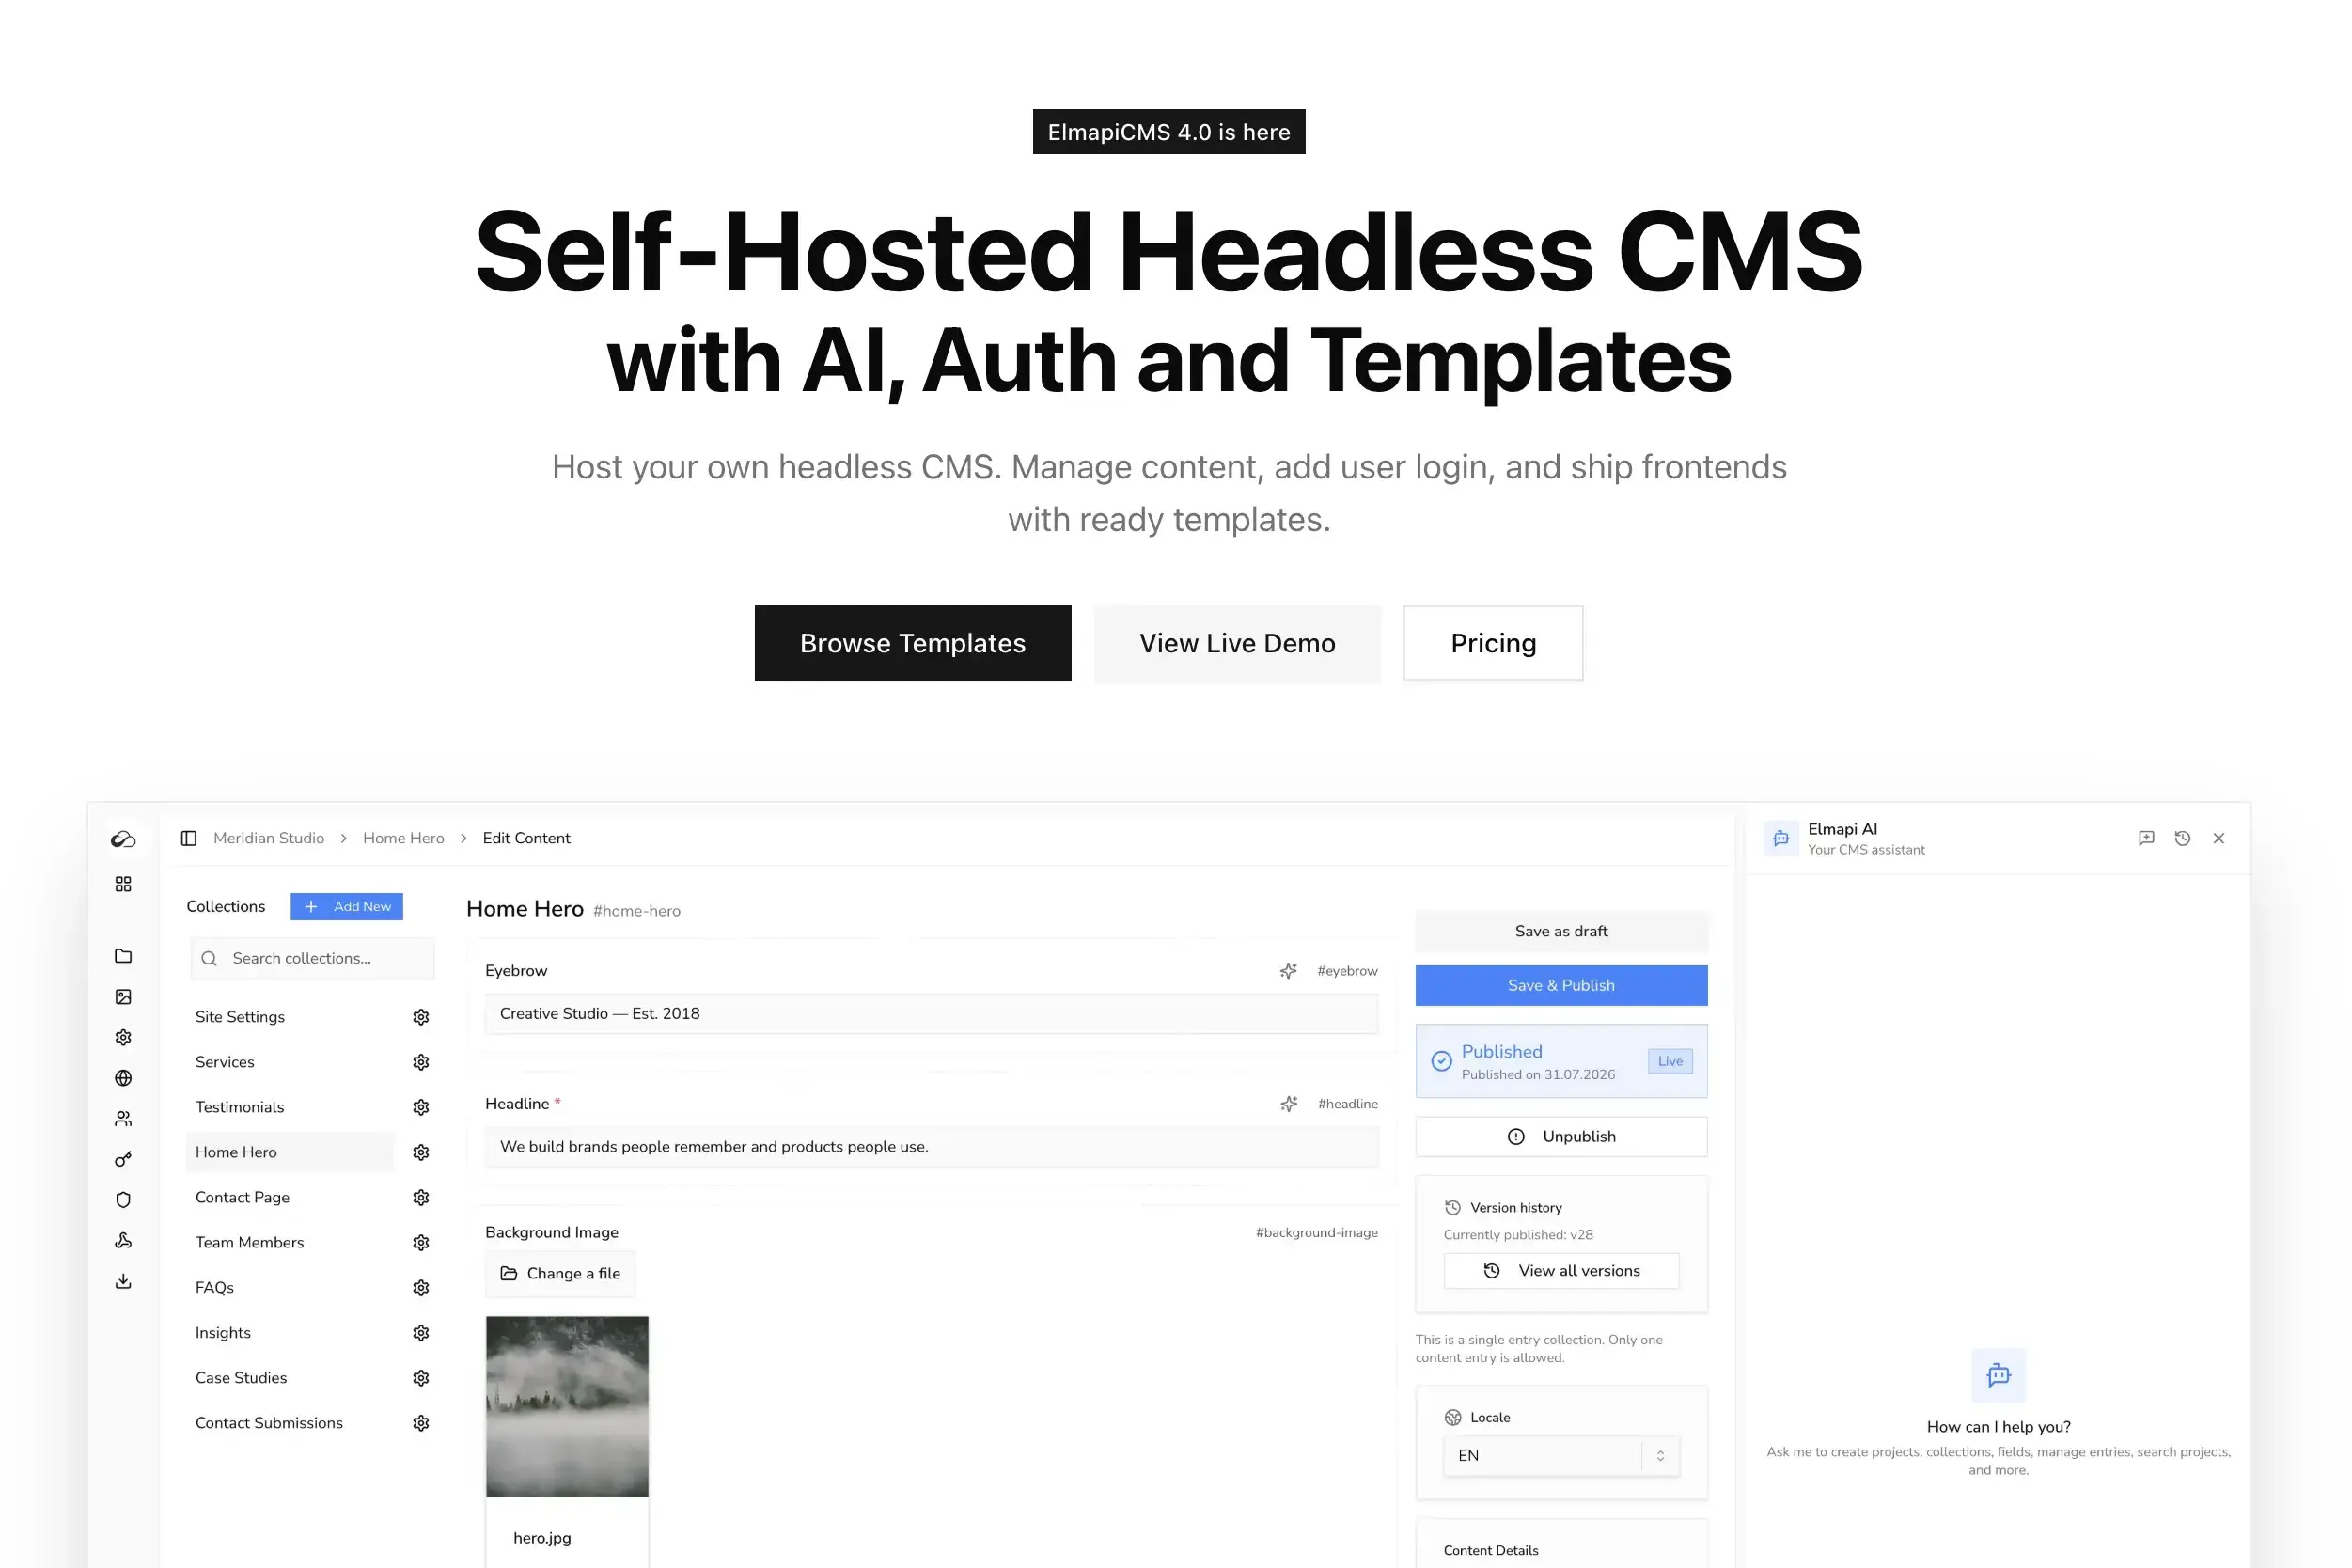
- Click "+ Add New" in Collections
- Name: "Posts"
- Add these fields:
title(Text, required)slug(Text, unique)excerpt(Text)content(Rich Text)featuredImage(Media)publishedAt(Date)
Add Sample Content
Create 2-3 test posts so we have something to display.
Get API Credentials
- Go to API Settings in your project
- Create a new API key (read-only)
- Note down:
- API URL:
http://localhost:8000/api - API Key:
your-api-key - Project ID:
your-project-id
- API URL:
Step 2: Create Next.js Project
npx create-next-app@16 my-blog --typescript --tailwind --eslint --app --src-dir
cd my-blog
Choose the defaults for all prompts.
Step 3: Install ElmapiCMS SDK
npm install @elmapicms/js-sdk
Step 4: Configure Environment
Create .env.local:
ELMAPI_URL=http://localhost:8000/api
ELMAPI_API_KEY=your-api-key
ELMAPI_PROJECT_ID=your-project-id
REVALIDATE_SECRET=your-secret-string-here
Step 5: Create CMS Client
Create src/lib/cms.ts:
import { createClient } from '@elmapicms/js-sdk';

export const cmsClient = createClient(
  process.env.ELMAPI_URL!,
  process.env.ELMAPI_API_KEY!,
  process.env.ELMAPI_PROJECT_ID!
);

// Types
export interface Post {
  uuid: string;
  fields: {
    title: string;
    slug: string;
    excerpt: string;
    content: string;
    featuredImage?: string;
    publishedAt: string;
  };
}

// Helper functions
export async function getAllPosts(): Promise<Post[]> {
  return cmsClient.getEntries('posts', {
    sort: '-publishedAt',
  });
}

export async function getPostBySlug(slug: string): Promise<Post | null> {
  const posts = await cmsClient.getEntries('posts', {
    filters: { slug },
  });
  return posts[0] || null;
}

export async function getPaginatedPosts(page: number = 1, perPage: number = 10) {
  return cmsClient.getEntries('posts', {
    sort: '-publishedAt',
    page,
    paginate: perPage,
  });
}
Step 6: Build Blog Pages
Blog Listing Page
Create src/app/blog/page.tsx:
import Link from 'next/link';
import { getAllPosts } from '@/lib/cms';

export const metadata = {
  title: 'Blog',
  description: 'Latest articles and tutorials',
};

export default async function BlogPage() {
  const posts = await getAllPosts();

  return (
    <main className="container mx-auto px-4 py-16 max-w-4xl">
      <h1 className="text-4xl font-bold mb-8">Blog</h1>

      <div className="space-y-8">
        {posts.map((post) => (
          <article key={post.uuid} className="border-b pb-8">
            <Link href={`/blog/${post.fields.slug}`}>
              <h2 className="text-2xl font-semibold hover:text-blue-600 transition-colors">
                {post.fields.title}
              </h2>
            </Link>
            <p className="text-gray-600 mt-2">{post.fields.excerpt}</p>
            <time className="text-sm text-gray-400 mt-2 block">
              {new Date(post.fields.publishedAt).toLocaleDateString()}
            </time>
          </article>
        ))}
      </div>

      {posts.length === 0 && (
        <p className="text-gray-500">No posts yet. Create some in ElmapiCMS!</p>
      )}
    </main>
  );
}
Individual Post Page
Create src/app/blog/[slug]/page.tsx:
import { notFound } from 'next/navigation';
import { getAllPosts, getPostBySlug } from '@/lib/cms';
import type { Metadata } from 'next';

interface Props {
  params: { slug: string };
}

export async function generateStaticParams() {
  const posts = await getAllPosts();
  return posts.map((post) => ({
    slug: post.fields.slug,
  }));
}

export async function generateMetadata({ params }: Props): Promise<Metadata> {
  const post = await getPostBySlug(params.slug);
  if (!post) return { title: 'Post Not Found' };

  return {
    title: post.fields.title,
    description: post.fields.excerpt,
  };
}

export default async function PostPage({ params }: Props) {
  const post = await getPostBySlug(params.slug);

  if (!post) {
    notFound();
  }

  return (
    <main className="container mx-auto px-4 py-16 max-w-3xl">
      <article>
        <h1 className="text-4xl font-bold mb-4">{post.fields.title}</h1>

        <time className="text-gray-500 block mb-8">
          {new Date(post.fields.publishedAt).toLocaleDateString()}
        </time>

        {post.fields.featuredImage && (
          <img
            src={post.fields.featuredImage}
            alt={post.fields.title}
            className="w-full rounded-lg mb-8"
          />
        )}

        <div
          className="prose prose-lg max-w-none"
          dangerouslySetInnerHTML={{ __html: post.fields.content }}
        />
      </article>
    </main>
  );
}
Step 7: Add Revalidation
Create src/app/api/revalidate/route.ts:
import { revalidatePath } from 'next/cache';
import { NextRequest, NextResponse } from 'next/server';

export async function POST(request: NextRequest) {
  const secret = request.headers.get('x-webhook-secret');

  if (secret !== process.env.REVALIDATE_SECRET) {
    return NextResponse.json({ error: 'Invalid secret' }, { status: 401 });
  }

  // Revalidate blog pages
  revalidatePath('/blog');
  revalidatePath('/blog/[slug]', 'page');

  return NextResponse.json({ revalidated: true, now: Date.now() });
}
Configure Webhook in ElmapiCMS
- Go to your project's Webhook settings
- Add a new webhook:
- URL:
https://your-site.com/api/revalidate - Method: POST
- Header:
x-webhook-secret: your-secret-string-here - Events: Entry Created, Entry Updated, Entry Deleted
- URL:
Deploy
Vercel (Recommended)
npm install -g vercel
vercel
Add environment variables in Vercel dashboard.
Netlify
npm install -g netlify-cli
netlify deploy --prod
Add environment variables in Netlify dashboard.
Next Steps
You now have a working Next.js blog powered by ElmapiCMS. Here's what to explore next:
Add more features:
Improve the design:
- Add a proper layout component
- Implement dark mode
- Add reading time estimates
Optimize performance:
- Add image optimization with next/image
- Implement ISR with specific revalidation times
- Add caching headers
Ready for more? Check out our complete Next.js blog tutorial series.
Related Posts: