Migrating from MDX Files to a Headless CMS
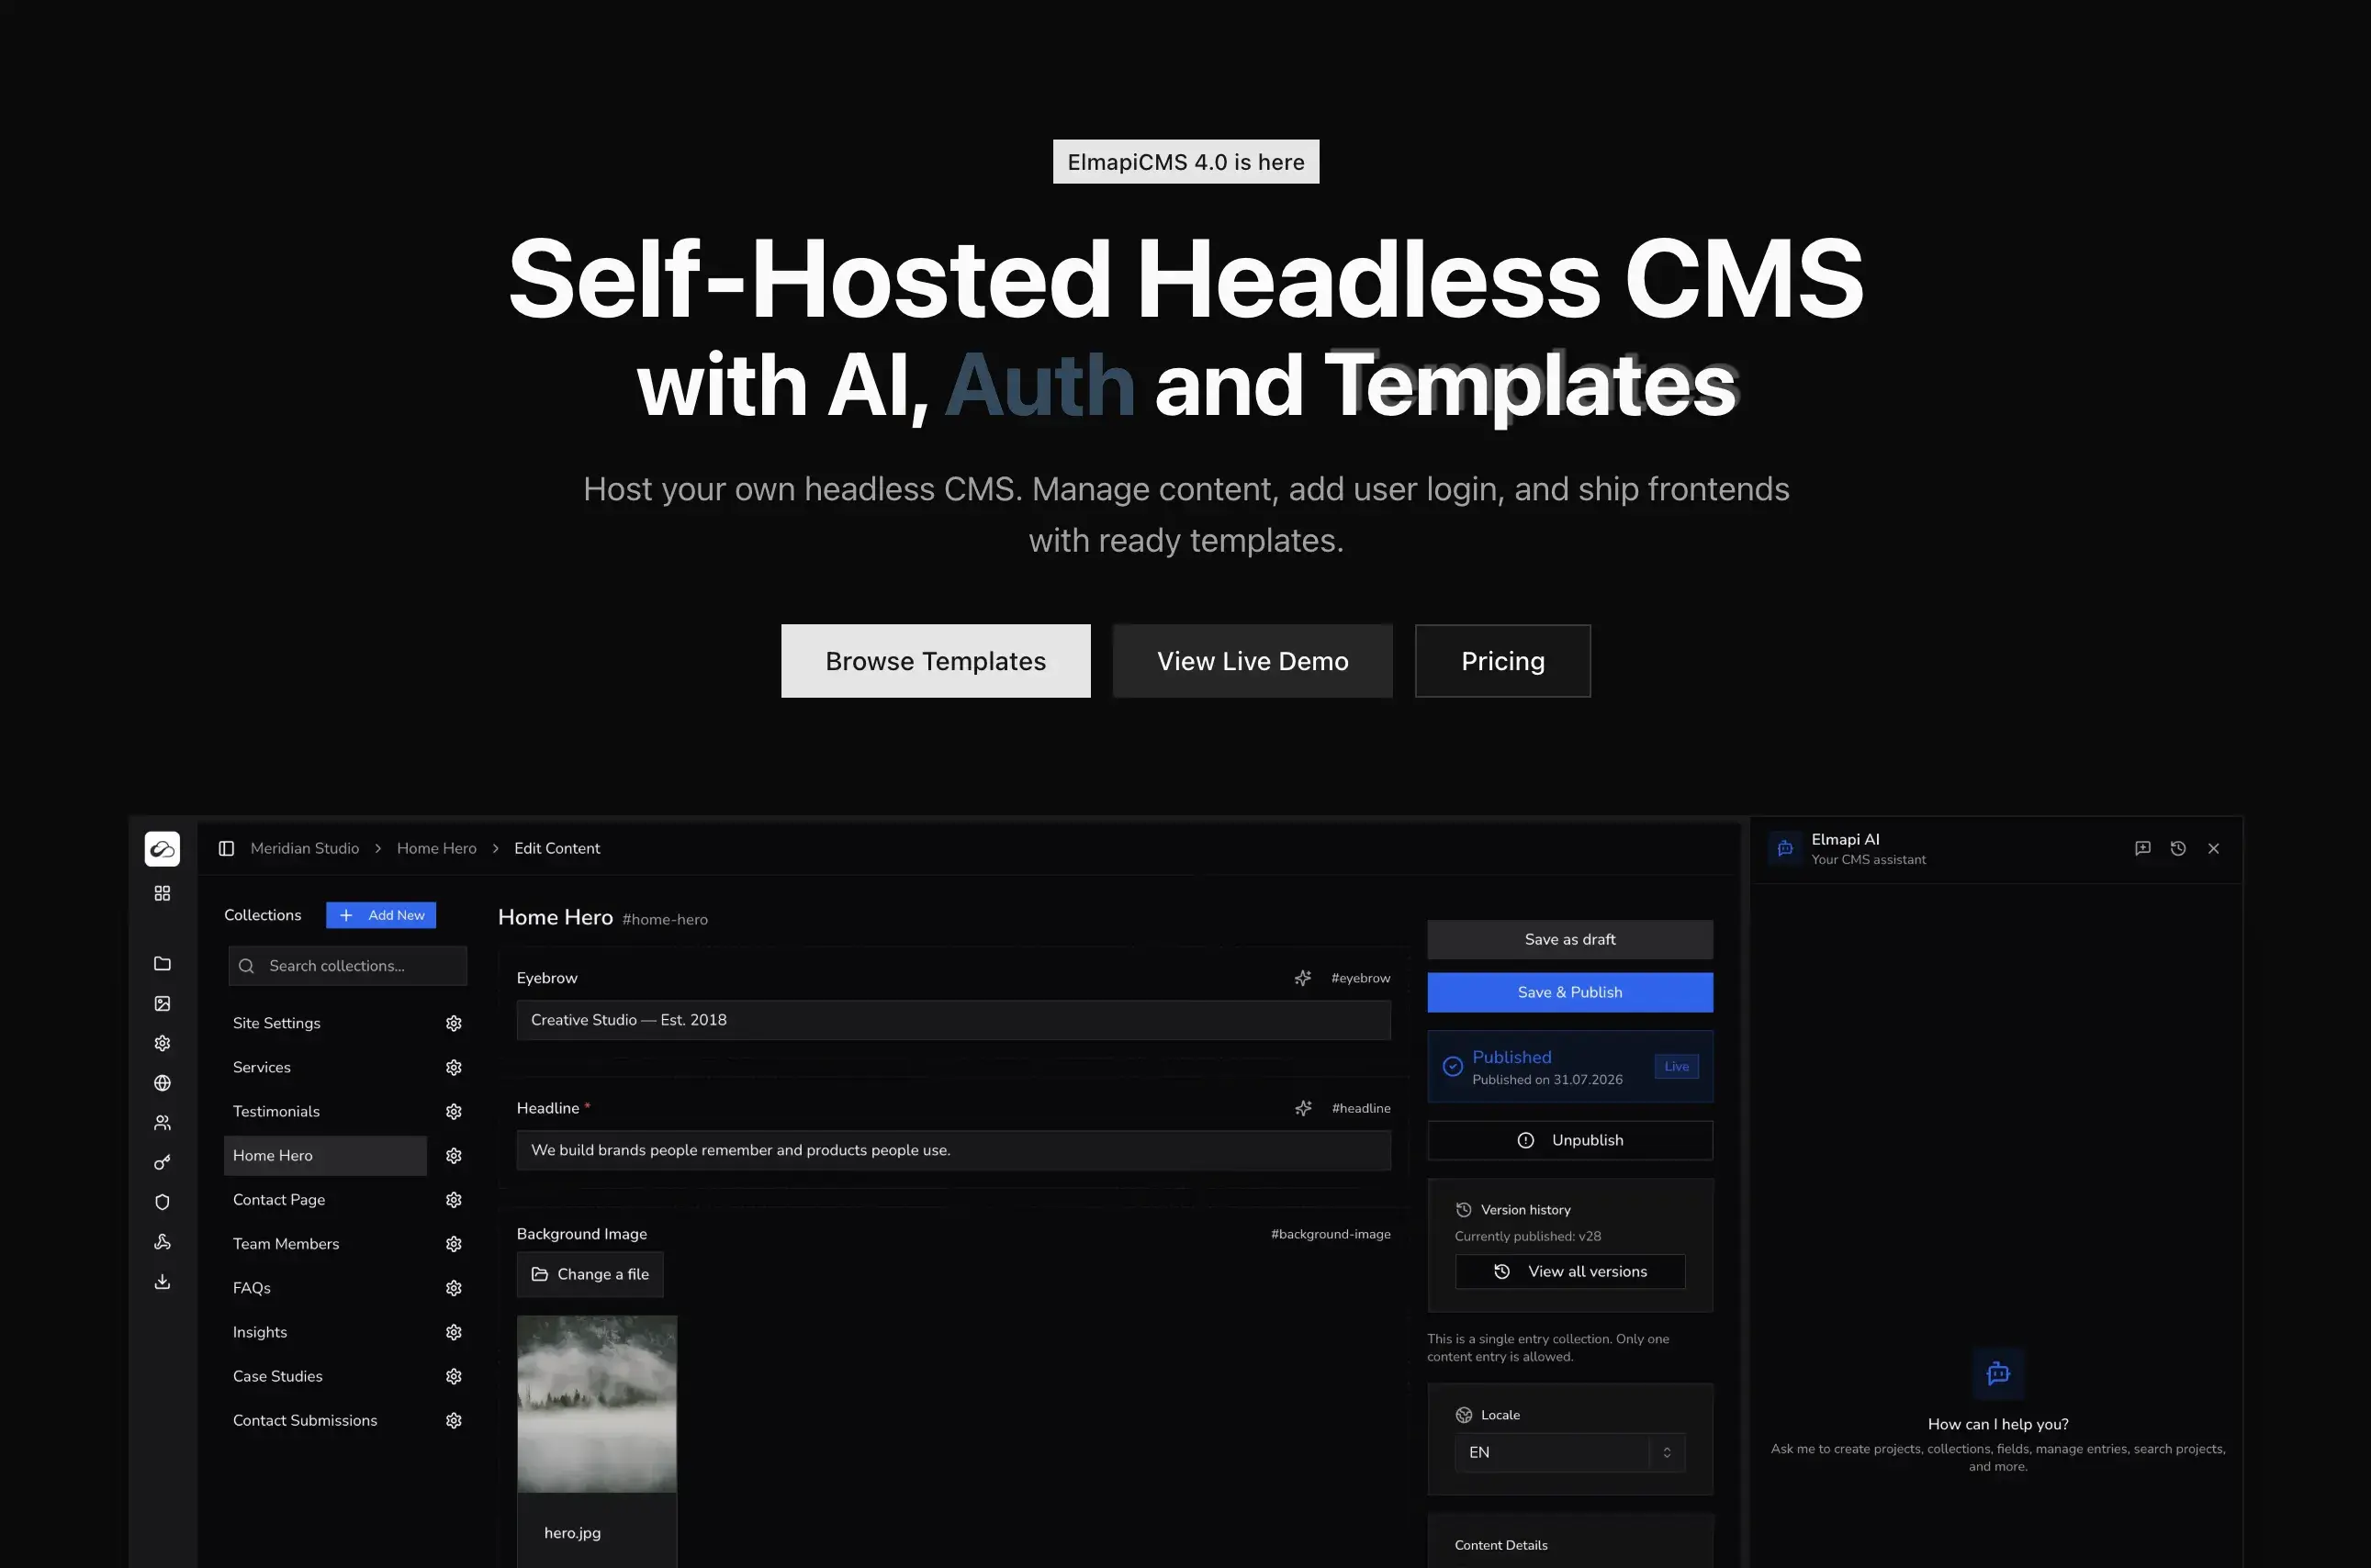
In Parts 1-3, we built a blog using local MDX files. Now we'll migrate to ElmapiCMS, a headless CMS that allows you to manage content without touching code. This enables non-developers to create and edit posts, and provides a scalable content management solution.
Table of Contents
- Why Migrate to a Headless CMS?
- Prerequisites
- Step 1: Setting Up ElmapiCMS
- Step 2: Creating the Blog Collection in ElmapiCMS
- Step 3: Installing the ElmapiCMS JavaScript SDK
- Step 4: Configuring Environment Variables
- Step 5: Creating the API Client
- Step 6: Migrating Posts Utility Functions
- Step 7: Handling MDX Content from API
- Step 8: Image Handling
- Step 9: API Authentication
- Step 10: Updating Pages for API Integration
- Step 11: Advanced API Features
- Step 12: Webhooks for Rebuilds (Optional)
- Step 13: Migration Strategy
- Step 14: Performance Considerations
- Troubleshooting
- Conclusion
Why Migrate to a Headless CMS?
Benefits of Using ElmapiCMS
Content Management Without Code Changes
- Non-developers can create and edit posts
- No need to commit MDX files to git
- Content updates don't require deployments
Multi-User Collaboration
- Multiple authors can work simultaneously
- Role-based permissions
- Content approval workflows
API-First Approach
- Content available via REST API
- Use the same content across multiple platforms
- Easy integration with other services
Scalability
- Handle large amounts of content
- Built-in pagination and filtering
- Optimized API responses
Media Management
- Centralized asset library
- Image optimization
- Cloud storage support (S3, DigitalOcean Spaces, etc.)
Prerequisites
Before starting, make sure you have:
- Completed Parts 1-3 of this tutorial
- An ElmapiCMS instance running (local or remote)
- Basic understanding of REST APIs
- Your existing Next.js blog project
If you don't have ElmapiCMS installed yet, check out our installation guide.
Step 1: Setting Up ElmapiCMS
Installation Options
ElmapiCMS can be installed in several ways:
Option 1: Docker (Recommended for Development)
cd ~/projects/Elmapi3
composer install
cp .env.example .env
php artisan key:generate
php artisan sail:install
./vendor/bin/sail up
./vendor/bin/sail artisan migrate --seed
Option 2: Laravel Sail
If you're using Laravel Sail, follow the Docker guide under GitHub installation, depending on how you bought ElmapiCMS.
Option 3: VPS/Production
For production deployment, see the deployment documentation.
Creating Your First Project
- Access your ElmapiCMS admin panel (usually
http://localhost:8000for local development) - Login with default credentials (check your installation docs)
- Click "Create Project"
- Name it "My Blog" and click "Create Project"
You'll be taken to your project dashboard where you can start creating collections.
Step 2: Creating the Blog Collection in ElmapiCMS
Using the Blog Post Template
ElmapiCMS includes a "Blog Post" template that's perfect for our use case:
- In your ElmapiCMS project, click "+ Add New" in the Collections sidebar
- Name it "Posts" (this will be the collection identifier)
- Choose "Blog Post" as the template
- Click "Create Collection"
This creates a collection with basic fields: title, slug, and content.
Adding Custom Fields
We need to add fields that match our MDX frontmatter structure. Click the settings icon next to your collection and add these fields:
- date (Date field) - Publication date
- description (Text field) - Post description/excerpt
- image (Media field) - Featured image
- image_dark (Media field) - Dark mode variant
- category (Text field) - Post category
Field Configuration Tips:
- Set
slugto auto-generate fromtitle - Make
daterequired with a default value - Set
categoryas optional - Configure
imageandimage_darkto accept images only
Understanding Collection Structure
Your collection structure should look like this:
Posts Collection
├── title (Text, Required)
├── slug (Text, Auto-generated)
├── content (Rich Text/Markdown)
├── date (Date, Required)
├── description (Text)
├── image (Media)
├── image_dark (Media)
└── category (Text)
Step 3: Installing the ElmapiCMS JavaScript SDK
The ElmapiCMS JavaScript SDK provides a simple interface to interact with the API.
Installing the SDK
In your Next.js project, install the SDK:
npm install @elmapicms/js-sdk
Understanding SDK Methods
The SDK provides these main methods:
getEntries(collection, params)- Get multiple entries with filtering, pagination, sortinggetEntry(collection, uuid, params)- Get a single entry by UUIDcreateEntry(collection, data)- Create a new entryupdateEntry(collection, uuid, data)- Update an entrydeleteEntry(collection, uuid)- Delete an entry
For our blog, we'll primarily use getEntries() and getEntry().
Step 4: Configuring Environment Variables
Create or update .env.local in your Next.js project:
ELMAPI_API_URL=http://localhost:8000/api
ELMAPI_API_KEY=your-api-key-here
ELMAPI_PROJECT_ID=your-project-uuid-here
ELMAPI_IMAGE_HOST=localhost:8000
NEXT_PUBLIC_SITE_URL=http://localhost:3000
Finding Your Project ID
- Go to your ElmapiCMS project
- Navigate to Settings → API Access
- Copy the Project ID (UUID format)
- Paste it into
.env.local
Creating an API Key
- In the same API Access page
- Click "Create Token"
- Give it a name like "Blog Read-Only"
- Select abilities: Read only (for security)
- Copy the generated token
- Paste it into
.env.local
Tip: You can enable "Public GET Access" if you want to allow unauthenticated reads. In this case, you can leave
ELMAPI_API_KEYempty.
Production Configuration
For production, update the URLs:
ELMAPI_API_URL=https://your-domain.com/api
ELMAPI_IMAGE_HOST=your-domain.com
NEXT_PUBLIC_SITE_URL=https://your-blog-domain.com
Step 5: Creating the API Client
Create src/lib/elmapicms.ts:
import { createClient } from '@elmapicms/js-sdk'

// Lazy initialization of SDK client
function getClient() {
  const apiUrl = process.env.ELMAPI_API_URL || 'http://localhost:8000/api'
  const apiToken = process.env.ELMAPI_API_KEY || ''
  const projectId = process.env.ELMAPI_PROJECT_ID || ''

  if (!projectId) {
    throw new Error('ELMAPI_PROJECT_ID environment variable is required')
  }

  return createClient(apiUrl, apiToken, projectId)
}

// Type definitions matching your ElmapiCMS collection structure
export interface ElmapiPost {
  uuid: string
  locale: string
  published_at: string | null
  fields: {
    title: string
    slug: string
    content: string
    date: string
    description?: string
    image?: string
    image_dark?: string
    category?: string
  }
}

export const client = getClient()
This creates a reusable client that you can import throughout your application.
Step 6: Migrating Posts Utility Functions
Now let's update src/lib/posts.ts to use the API instead of reading files.
Updating getSortedPostsData()
Replace the file-based implementation with API calls:
import { client, ElmapiPost } from './elmapicms'
import { Post, PostMatter } from './posts'

// Transform ElmapiCMS entry to our Post format
function transformEntry(entry: ElmapiPost): PostMatter {
  return {
    slug: entry.fields.slug,
    title: entry.fields.title,
    date: entry.fields.date,
    description: entry.fields.description || '',
    image: entry.fields.image || undefined,
    image_dark: entry.fields.image_dark || undefined,
    category: entry.fields.category || undefined,
  }
}

export async function getSortedPostsData(): Promise<PostMatter[]> {
  try {
    const entries = await client.getEntries('posts', {
      sort: 'date:DESC', // Sort by date descending
    }) as ElmapiPost[]

    const posts = entries.map(transformEntry)
    return posts
  } catch (error) {
    console.error('Error fetching posts:', error)
    return []
  }
}
Updating getPostData()
export async function getPostData(slug: string): Promise<Post> {
  try {
    // First, find the post by slug
    const entries = await client.getEntries('posts', {
      where: {
        slug: slug,
      },
    }) as ElmapiPost[]

    if (entries.length === 0) {
      throw new Error('Post not found')
    }

    const entry = entries[0]
    return {
      slug: entry.fields.slug,
      title: entry.fields.title,
      date: entry.fields.date,
      description: entry.fields.description || '',
      content: entry.fields.content,
      image: entry.fields.image || undefined,
      image_dark: entry.fields.image_dark || undefined,
      category: entry.fields.category || undefined,
    }
  } catch (error) {
    console.error('Error fetching post:', error)
    throw new Error('Post not found')
  }
}
Updating getAllPostSlugs()
export async function getAllPostSlugs() {
  try {
    const entries = await client.getEntries('posts') as ElmapiPost[]
    return entries.map((entry) => ({
      slug: entry.fields.slug,
    }))
  } catch (error) {
    console.error('Error fetching post slugs:', error)
    return []
  }
}
Updating Category Functions
export async function getAllCategories(): Promise<string[]> {
  try {
    const entries = await client.getEntries('posts') as ElmapiPost[]
    const categories = entries
      .map((entry) => entry.fields.category)
      .filter((category): category is string => Boolean(category))
    return Array.from(new Set(categories)).sort()
  } catch (error) {
    console.error('Error fetching categories:', error)
    return []
  }
}

export async function getPostsByCategory(category: string): Promise<PostMatter[]> {
  try {
    const entries = await client.getEntries('posts', {
      where: {
        category: category,
      },
      sort: 'date:DESC',
    }) as ElmapiPost[]
    return entries.map(transformEntry)
  } catch (error) {
    console.error('Error fetching posts by category:', error)
    return []
  }
}

export async function getCategoryBySlug(slug: string): Promise<string | null> {
  const categories = await getAllCategories()
  const matchedCategory = categories.find(
    (category) => slugify(category) === slug.toLowerCase()
  )
  return matchedCategory || null
}
Updating getRelatedPosts()
export async function getRelatedPosts(currentSlug: string, limit: number = 3): Promise<PostMatter[]> {
  try {
    // Get current post
    const currentPost = await getPostData(currentSlug)

    // Get all posts
    const allPosts = await getSortedPostsData()
    const otherPosts = allPosts.filter((post) => post.slug !== currentSlug)

    if (otherPosts.length === 0) {
      return []
    }

    // Filter by category
    const sameCategoryPosts = otherPosts.filter(
      (post) => post.category && post.category === currentPost.category
    )
    const differentCategoryPosts = otherPosts.filter(
      (post) => !post.category || post.category !== currentPost.category
    )

    // Shuffle and mix (same logic as before)
    const shuffle = <T,>(array: T[]): T[] => {
      const shuffled = [...array]
      for (let i = shuffled.length - 1; i > 0; i--) {
        const j = Math.floor(Math.random() * (i + 1))
        [shuffled[i], shuffled[j]] = [shuffled[j], shuffled[i]]
      }
      return shuffled
    }

    const shuffledSameCategory = shuffle(sameCategoryPosts)
    const shuffledDifferentCategory = shuffle(differentCategoryPosts)

    const relatedPosts: PostMatter[] = []
    const sameCategoryCount = Math.min(2, shuffledSameCategory.length, limit)
    relatedPosts.push(...shuffledSameCategory.slice(0, sameCategoryCount))

    const remaining = limit - relatedPosts.length
    if (remaining > 0 && shuffledDifferentCategory.length > 0) {
      relatedPosts.push(...shuffledDifferentCategory.slice(0, remaining))
    }

    return relatedPosts.slice(0, limit)
  } catch (error) {
    console.error('Error fetching related posts:', error)
    return []
  }
}
Step 7: Handling MDX Content from API
ElmapiCMS stores content as Markdown or Rich Text. We can render it the same way we did with MDX files.
Storing MDX in ElmapiCMS
When creating posts in ElmapiCMS:
- Use the content field (configured as Markdown or Rich Text)
- Write your content in Markdown format
- Include code blocks, headings, lists, etc., just like in MDX files
Rendering MDX from API
The getPostData() function already returns the content. Your existing MDX rendering code will work:
<MDXRemote
  source={post.content}
  components={{
    pre: CodeBlock,
  }}
/>
This works because:
- ElmapiCMS stores content as Markdown
next-mdx-remotecan render Markdown- Your custom components (like
CodeBlock) still work
Preserving Code Blocks and Formatting
Make sure your ElmapiCMS content field is configured as Markdown (not Rich Text) to preserve:
- Code blocks with syntax highlighting
- Headings with IDs (for table of contents)
- Lists, links, and other Markdown features
Step 8: Image Handling
ElmapiCMS provides an Asset Library for managing images.
Fetching Images from Asset Library
When you upload images in ElmapiCMS, they're stored in the Asset Library. The API returns image URLs like:
http://localhost:8000/storage/assets/image-name.webp
Using Image URLs from API
Update your image handling to use the full URL:
// In getPostData() or transformEntry()
image: entry.fields.image
  ? `${process.env.ELMAPI_IMAGE_HOST || 'http://localhost:8000'}${entry.fields.image}`
  : undefined
Or configure ElmapiCMS to return full URLs in the API response.
Handling Dark Mode Images
If you have separate images for dark mode:
image_dark: entry.fields.image_dark
  ? `${process.env.ELMAPI_IMAGE_HOST || 'http://localhost:8000'}${entry.fields.image_dark}`
  : undefined
Image Optimization
Your existing OptimizedImage component will work with ElmapiCMS image URLs. Just make sure to:
- Configure
next.config.tsto allow images from your ElmapiCMS domain:
images: {
  remotePatterns: [
    {
      protocol: 'http',
      hostname: 'localhost',
      port: '8000',
      pathname: '/storage/**',
    },
    {
      protocol: 'https',
      hostname: 'your-elmapicms-domain.com',
      pathname: '/storage/**',
    },
  ],
}
Step 9: API Authentication
Understanding API Tokens
ElmapiCMS uses API tokens for authentication. Each token has abilities that define what it can do:
- Read - Can fetch entries
- Create - Can create new entries
- Update - Can update existing entries
- Delete - Can delete entries
Creating Read-Only Tokens
For a blog, you typically only need Read ability:
- Go to Settings → API Access
- Click "Create Token"
- Name it "Blog Read-Only"
- Select only Read ability
- Copy the token
This token can only read content, making it safe to use in client-side code (if needed).
Public API vs Authenticated API
Public API (Recommended for Blogs):
- In Settings → API Access
- Enable "Public GET Access"
- No token needed for reading
- Still secure (read-only)
Authenticated API:
- Requires a token for all requests
- More secure
- Better for private content
Security Best Practices
- Use read-only tokens for public blogs
- Never commit API keys to git
- Use environment variables
- Rotate tokens periodically
- Use different tokens for development and production
Step 10: Updating Pages for API Integration
Your existing pages should work with minimal changes since we've updated the utility functions.
Blog Listing Page
src/app/blog/page.tsx should work as-is:
import { getSortedPostsData } from '@/lib/posts'
import { BlogList } from '@/components/blog-list'

export default async function Blog() {
  const posts = await getSortedPostsData() // Now fetches from API
  return <BlogList posts={posts} />
}
Individual Post Page
src/app/blog/[slug]/page.tsx should also work:
import { getPostData, getAllPostSlugs } from '@/lib/posts'

export async function generateStaticParams() {
  const posts = await getAllPostSlugs() // Now fetches from API
  return posts.map((post) => ({
    slug: post.slug,
  }))
}

export default async function PostPage({ params }: { params: PageParams }) {
  const post = await getPostData(slug) // Now fetches from API
  // ... rest of component
}
Error Handling
Add better error handling:
export default async function PostPage({ params }: { params: PageParams }) {
  const { slug } = await params
  try {
    const post = await getPostData(slug)
    // ... render post
  } catch (error) {
    console.error('Error loading post:', error)
    notFound()
  }
}
Loading States
For better UX, you can add loading states (though with static generation, this is less critical):
export default async function Blog() {
  const posts = await getSortedPostsData()

  if (posts.length === 0) {
    return <div>No posts found. Check your ElmapiCMS connection.</div>
  }

  return <BlogList posts={posts} />
}
Step 11: Advanced API Features
Pagination
ElmapiCMS supports pagination:
const entries = await client.getEntries('posts', {
  paginate: 10, // Posts per page
  page: 1, // Current page
})
Filtering
Filter posts by category or other fields:
const entries = await client.getEntries('posts', {
  where: {
    category: 'Tutorial',
  },
})
Search Functionality
You can implement server-side search:
const entries = await client.getEntries('posts', {
  where: {
    title: {
      like: `%${searchQuery}%`,
    },
  },
})
Sorting
Sort posts by any field:
const entries = await client.getEntries('posts', {
  sort: 'date:DESC', // or 'date:ASC'
})
Step 12: Webhooks for Rebuilds (Optional)
When content changes in ElmapiCMS, you can trigger a Next.js rebuild using webhooks.
Setting Up Webhooks in ElmapiCMS
- Go to Settings → Webhooks
- Click "Create Webhook"
- Configure:
- URL: Your rebuild endpoint (see below)
- Events: Select "Entry Created", "Entry Updated", "Entry Deleted"
- Secret: Generate a secret for verification
Vercel Deployment Hook
If using Vercel:
- Go to your Vercel project settings
- Navigate to Deployments → Deploy Hooks
- Create a new hook
- Copy the URL
- Use it as your webhook URL in ElmapiCMS
Netlify Build Hook
If using Netlify:
- Go to Site settings → Build & deploy → Continuous Deployment
- Click "Add build hook"
- Copy the URL
- Use it in ElmapiCMS
GitHub Actions
For GitHub Actions, create .github/workflows/rebuild.yml:
name: Rebuild Site

on:
  repository_dispatch:
    types: [rebuild]

jobs:
  rebuild:
    runs-on: ubuntu-latest
    steps:
      - uses: actions/checkout@v3
      - uses: actions/setup-node@v3
      - run: npm install
      - run: npm run build
      # Add deployment steps here
Then create a webhook endpoint that triggers this workflow.
Verifying Webhook Signatures
Always verify webhook signatures for security:
import crypto from 'crypto'

export async function POST(request: Request) {
  const signature = request.headers.get('x-elmapi-signature')
  const body = await request.text()
  const secret = process.env.ELMAPI_WEBHOOK_SECRET

  const expectedSignature = crypto
    .createHmac('sha256', secret)
    .update(body)
    .digest('hex')

  if (signature !== expectedSignature) {
    return new Response('Invalid signature', { status: 401 })
  }

  // Trigger rebuild
  // ...
}
Step 13: Migration Strategy
Exporting Existing MDX Posts
Create a migration script scripts/export-mdx-to-json.ts:
import { getAllPostSlugs, getPostData } from '../src/lib/posts'
import fs from 'fs/promises'
import path from 'path'

async function exportPosts() {
  const slugs = await getAllPostSlugs()
  const posts = []

  for (const { slug } of slugs) {
    const post = await getPostData(slug)
    posts.push({
      title: post.title,
      slug: post.slug,
      content: post.content,
      date: post.date,
      description: post.description,
      category: post.category,
    })
  }

  await fs.writeFile(
    path.join(process.cwd(), 'posts-export.json'),
    JSON.stringify(posts, null, 2)
  )

  console.log(`Exported ${posts.length} posts to posts-export.json`)
}

exportPosts()
Importing to ElmapiCMS
- Use the ElmapiCMS Import feature
- Or manually create posts through the admin panel
- Or use the API to create posts programmatically
Testing the Migration
- Start with a few test posts
- Verify all features work:
- Blog listing
- Individual posts
- Search
- Categories
- Related posts
- Gradually migrate remaining posts
Rollback Plan
Keep your MDX files in a backup branch:
git checkout -b backup-mdx-files
git add content/blog/
git commit -m "Backup MDX files before migration"
git checkout main
If needed, you can revert to the MDX-based implementation.
Step 14: Performance Considerations
Caching API Responses
Next.js automatically caches API responses during build. For dynamic updates, consider:
Option 1: Incremental Static Regeneration (ISR)
export const revalidate = 3600 // Revalidate every hour
Option 2: On-Demand Revalidation
Create an API route:
// app/api/revalidate/route.ts
export async function POST(request: Request) {
  const { secret, slug } = await request.json()

  if (secret !== process.env.REVALIDATION_SECRET) {
    return new Response('Invalid secret', { status: 401 })
  }

  try {
    await revalidatePath(`/blog/${slug}`)
    return Response.json({ revalidated: true })
  } catch (err) {
    return Response.json({ revalidated: false }, { status: 500 })
  }
}
Static Generation Benefits
generateStaticParams() still works with API data:
export async function generateStaticParams() {
  const posts = await getAllPostSlugs() // Fetches from API at build time
  return posts.map((post) => ({
    slug: post.slug,
  }))
}
This pre-generates all pages at build time for optimal performance.
API Rate Limiting
Be aware of API rate limits:
- Don't fetch all posts on every request
- Cache responses when possible
- Use pagination for large datasets
Troubleshooting
Issue: API requests failing
Solution:
- Check your
ELMAPI_API_URLis correct - Verify your API key has the right abilities
- Check if Public GET Access is enabled
- Ensure your ElmapiCMS instance is running
Issue: Images not loading
Solution:
- Check
ELMAPI_IMAGE_HOSTconfiguration - Verify image URLs in API responses
- Update
next.config.tsremote patterns - Ensure images are uploaded to Asset Library
Issue: Content not updating
Solution:
- Clear Next.js cache:
.nextfolder - Rebuild the site
- Check webhook configuration
- Verify ISR revalidation settings
Issue: Build errors
Solution:
- Ensure all environment variables are set
- Check API connectivity during build
- Add error handling for API failures
- Consider fallback to empty arrays
Conclusion
Congratulations! You've successfully migrated your Next.js blog from local MDX files to ElmapiCMS headless CMS. You now have:
✅ Content management through a user-friendly admin panel
✅ API-based content delivery
✅ Scalable architecture
✅ Multi-user collaboration support
✅ Webhook integration for automatic rebuilds
Key Takeaways:
- ElmapiCMS provides a powerful API for content management
- Migration from MDX to API is straightforward
- Static generation still works with API data
- Webhooks enable automatic site updates
- The same blog features work with API data
Benefits Achieved:
- Non-developers can now create and edit posts
- Content updates don't require code deployments
- Scalability for large amounts of content
- Flexibility to use content across multiple platforms
Your blog is now production-ready with a professional content management system!
Next Steps:
- Add more content through ElmapiCMS
- Configure webhooks for automatic rebuilds
- Set up production environment variables
- Optimize images in the Asset Library
- Explore advanced ElmapiCMS features
Happy blogging! 🎉