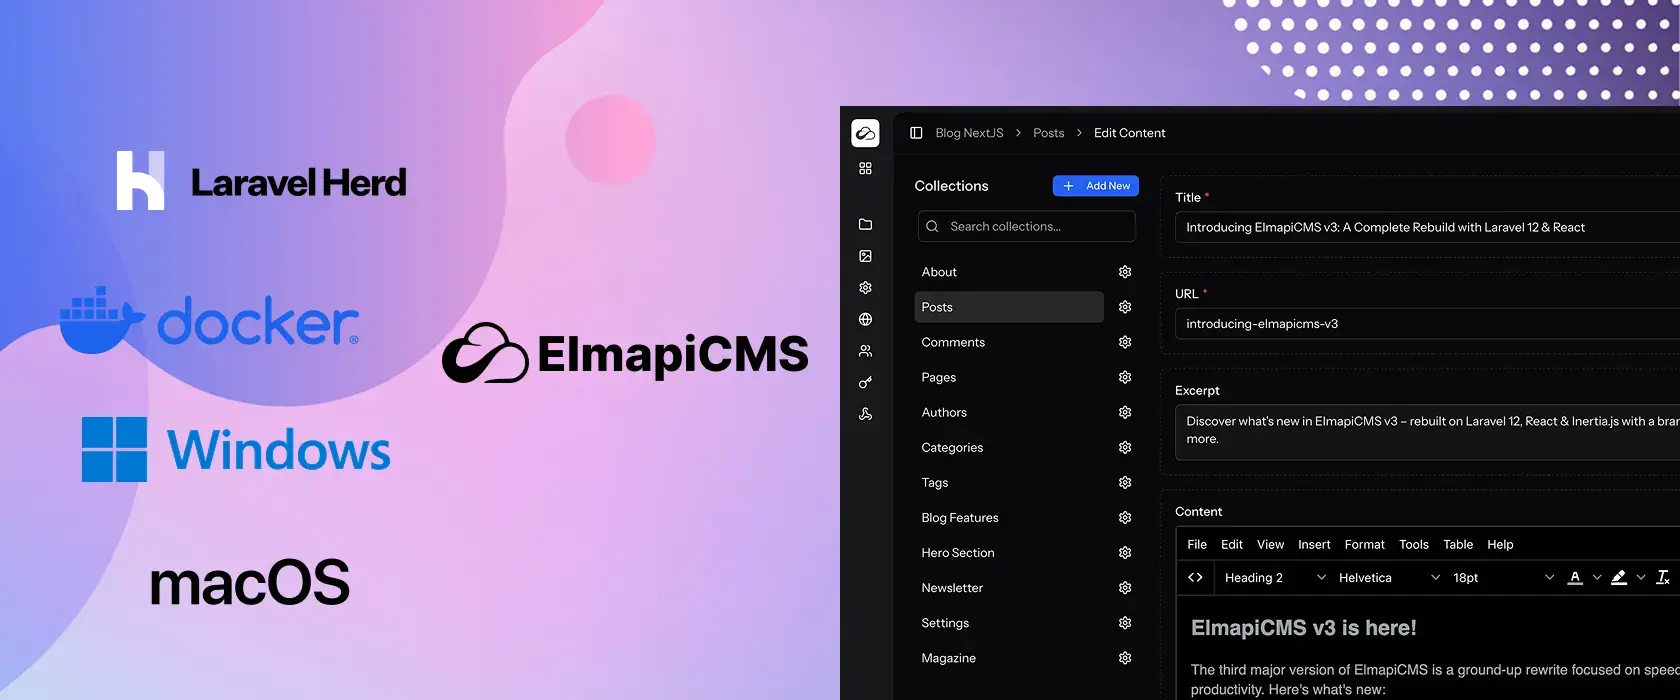
ElmapiCMS v3 is a powerful headless CMS built on Laravel. This guide will walk you through installing ElmapiCMS v3 using three different methods:
- Docker (recommended for all platforms)
- macOS (using Laravel Herd)
- Windows (using Laravel Herd)
Choose the method that best fits your environment. Docker is the most universal and runs ElmapiCMS in an isolated container, while Herd for macOS or Windows installs ElmapiCMS directly on your local machine for a native experience.
1. Installing with Docker (Recommended for All Platforms)
Docker provides an isolated environment, so you don't need to install PHP, Composer, or a database server on your host machine. This is ideal if you want to keep your local machine clean or need a consistent setup across different systems. We recommend using Laravel Sail for Docker.
Prerequisites:
- Docker Desktop (includes Docker Engine & Compose)
Steps
-
Extract the Project
- Locate the
Elmapi3.zipfile you downloaded. - Extract it to your preferred directory.
- Navigate to the project directory:
cd ~/projects/Elmapi3 - Locate the
-
Install PHP Dependencies
- On Windows (PowerShell):
composer install - On macOS/Linux (Terminal):
composer install - If you encounter errors, use the
vendor.zipfrom the original zip file. Extract it into theElmapi3folder.
- On Windows (PowerShell):
-
Copy Environment File & Generate Key
- Windows:
copy .env.example .env php artisan key:generate - macOS/Linux:
cp .env.example .env
php artisan key:generate
- Windows:
-
Install Laravel Sail
php artisan sail:install- Select your preferred services and press enter. This creates a
docker-compose.ymlfile.
- Select your preferred services and press enter. This creates a
-
Start Sail
./vendor/bin/sail up -
Run Database Migrations & Seed Data
./vendor/bin/sail artisan migrate --seed- If you encounter errors, try:
./vendor/bin/sail down -v && ./vendor/bin/sail up
- If you encounter errors, try:
-
Visit the Site
- Open your browser at http://localhost
-
Login
- Email:
[email protected] - Password:
password
- Email:
-
(Optional) Npm Packages & Development
- To develop the frontend:
./vendor/bin/sail npm install ./vendor/bin/sail composer run dev - To build for production:
./vendor/bin/sail npm run build
- To develop the frontend:
2. Installing on macOS (with Laravel Herd, Local Machine)
Laravel Herd is the easiest way to get started on macOS. It bundles PHP, Composer, and a zero-config local server for Laravel projects, installing everything directly on your local machine.
Prerequisites:
- macOS 12+ (Monterey or newer)
- Download Herd from the Herd website
Steps
-
Install Herd
- Download and install Herd. Open it from Applications to complete onboarding.
-
Extract ElmapiCMS
- Extract
Elmapi3.zipto~/Herd/Elmapi3. - Rename the folder to
Elmapi3if needed.
- Extract
-
Open Terminal & Navigate
cd ~/Herd/Elmapi3 -
Install PHP Dependencies
composer install- If you encounter errors, use the
vendor.zipfrom the original zip file.
- If you encounter errors, use the
-
Copy Environment File & Generate Key
cp .env.example .env php artisan key:generate -
Run Database Migrations & Seed Data
php artisan migrate --seed- If prompted, type
yto create a new sqlite database. - If you encounter errors, you can import
elmapi3.sqlfrom the original zip file.
- If prompted, type
-
Visit the Site
herd open- Your site will be available at http://elmapi3.test
-
Login
- Email:
[email protected] - Password:
password
- Email:
-
Database Configuration (Optional)
- By default, sqlite is used. To use MySQL, edit your
.env:DB_CONNECTION=mysql DB_DATABASE=elmapicms_v3 DB_USERNAME=root DB_PASSWORD=
- By default, sqlite is used. To use MySQL, edit your
-
(Optional) Npm Packages & Development
- To develop the frontend:
npm install composer run dev - To build for production:
npm run build
- To develop the frontend:
3. Installing on Windows (with Laravel Herd, Local Machine)
Laravel Herd is also available for Windows, providing a native Laravel development environment by installing everything directly on your local machine.
Prerequisites:
- Windows 10/11
- Download Herd from the Herd website
Steps
-
Install Herd
- Download and install Herd. Complete onboarding and open the Herd UI.
-
Extract ElmapiCMS
- Move
Elmapi3.zipto%USERPROFILE%\Herd(e.g.,C:\Users\YourUsername\Herd). - Extract and rename the folder to
Elmapi3.
- Move
-
Open PowerShell & Navigate
cd Herd\Elmapi3 -
Install PHP Dependencies
composer install- If you encounter errors, use the
vendor.zipfrom the original zip file.
- If you encounter errors, use the
-
Copy Environment File & Generate Key
copy .env.example .env php artisan key:generate -
Run Database Migrations & Seed Data
php artisan migrate --seed- If prompted, type
yto create a new sqlite database. - If you encounter errors, you can import
elmapi3.sqlfrom the original zip file.
- If prompted, type
-
Visit the Site
herd open- Your site will be available at http://elmapi3.test
-
Login
- Email:
[email protected] - Password:
password
- Email:
-
Database Configuration (Optional)
- By default, sqlite is used. To use MySQL, edit your
.env:DB_CONNECTION=mysql DB_DATABASE=elmapicms_v3 DB_USERNAME=root DB_PASSWORD=
- By default, sqlite is used. To use MySQL, edit your
-
(Optional) Npm Packages & Development
- To develop the frontend:
npm install composer run dev - To build for production:
npm run build
- To develop the frontend:
Common Troubleshooting
- composer install fails: Use the
vendor.zipfrom the original zip file and extract it into your project folder. - Migration errors: Use the
elmapi3.sqlfile from the original zip file and import it into your database. - Docker issues: Try restarting containers with
./vendor/bin/sail down -v && ./vendor/bin/sail up. - .env configuration: Double-check your database credentials and other settings in
.env.