Understanding Permissions
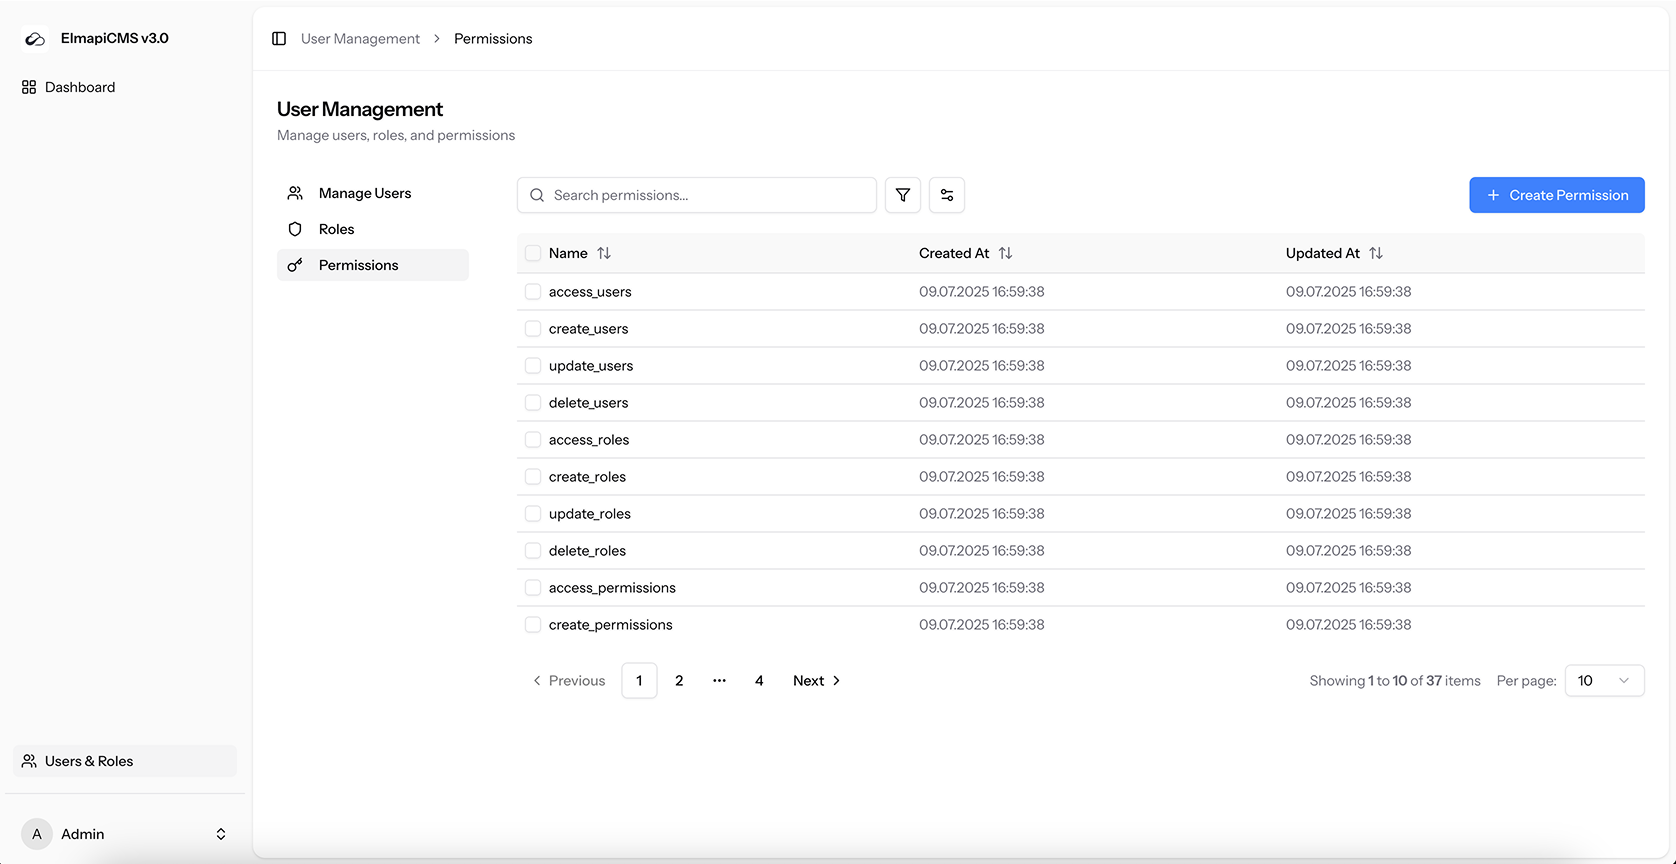
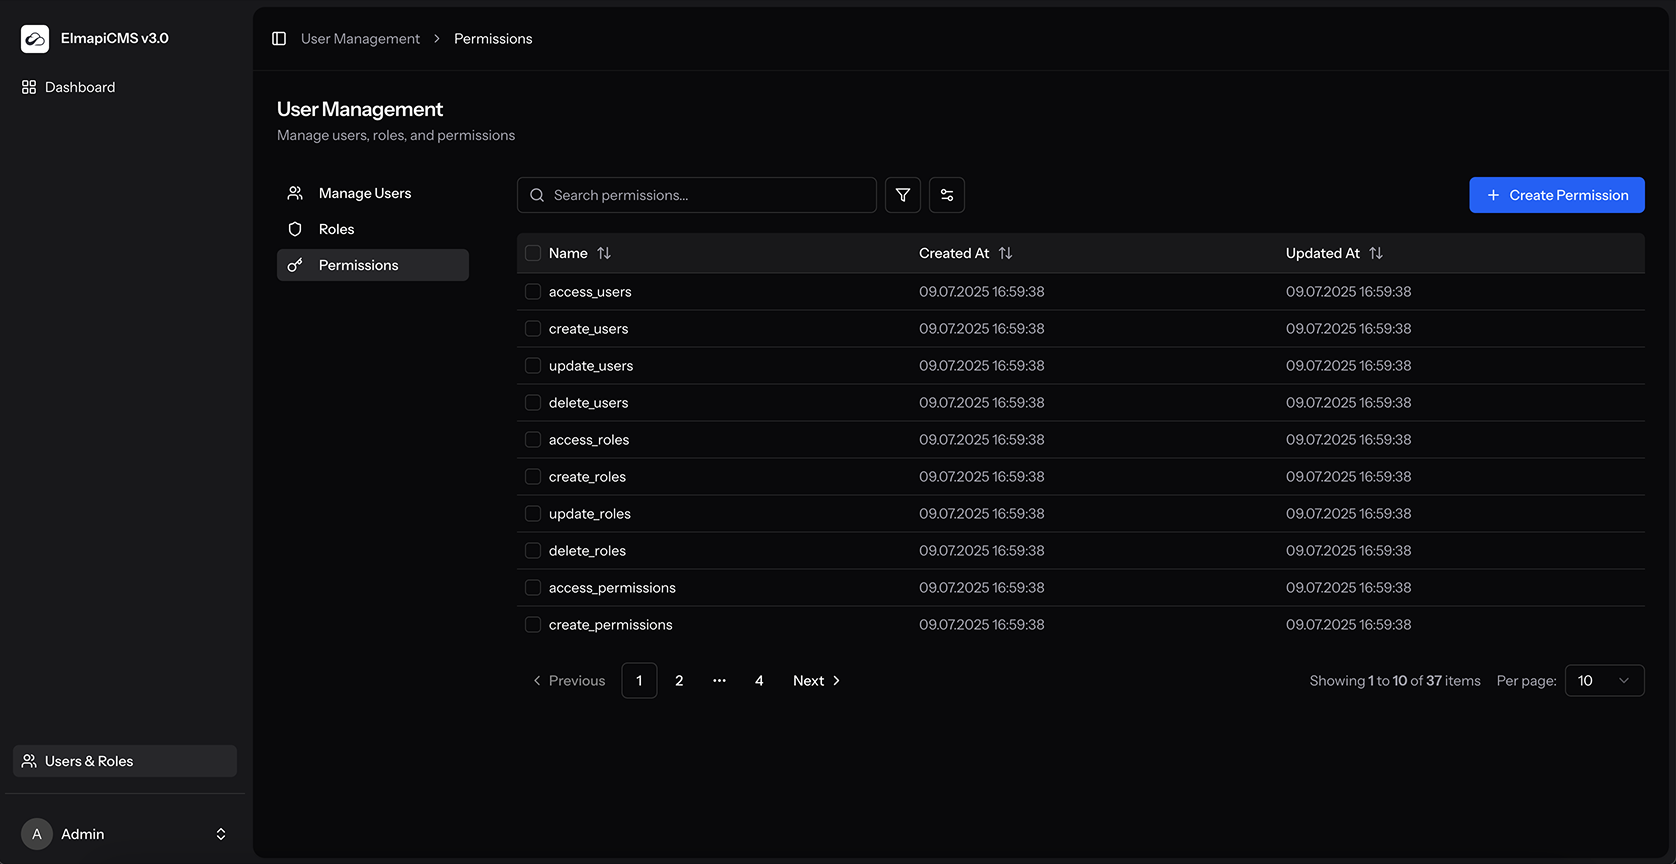
The permissions page provides a complete list of all the granular actions that can be performed within ElmapiCMS.
What are Permissions?
Permissions are the foundation of the access control system. Each permission corresponds to a specific action, such as create_users, update_settings, or delete_content.
While you can assign permissions directly to a user, it is generally better practice to group them into Roles.
Default Permissions
ElmapiCMS comes with a comprehensive set of default permissions that cover all core functionalities. These permissions are automatically created when you run the database migrations. They are grouped by functionality:
// User permissions
access_users
create_users
update_users
delete_users
// Role permissions
access_roles
create_roles
update_roles
delete_roles
// Permission permissions
access_permissions
create_permissions
update_permissions
delete_permissions
// Project permissions
access_all_projects
create_project
create_collection
access_collection_settings
update_collection
delete_collection
create_field
update_field
delete_field
access_project_settings
delete_project
access_localization_settings
access_user_access_settings
access_api_access_settings
access_auth_settings
access_webhooks_settings
// Content permissions
create_content
update_content
publish_content
unpublish_content
move_content_to_trash
delete_content
// Asset permissions
access_assets
upload_asset
update_asset
delete_assetAdvanced: Custom Permissions
Creating Custom Permissions
Developer Only
This is an advanced feature intended for developers who want to extend the functionality of ElmapiCMS. Creating a new permission requires writing both backend and frontend code to make it functional. Do not create permissions unless you plan to use them in your own custom code.
Creating a custom permission is a two-step process:
-
Create the permission in the admin panel: Click the "Create Permission" button and give your new permission a descriptive name (e.g.,
view_custom_report). -
Implement the permission in your code: A permission created in the admin panel does nothing on its own. You must use it in your backend code to protect routes or actions, and in your frontend code to control the UI.
Backend Implementation
This is typically done by applying the permission middleware directly to a route. For example, to protect a custom report page, you would add the following to routes/web.php:
// routes/web.php
Route::get('/custom-report', function () {
// Your controller or logic to show the report
})->name('custom.report')->middleware(['permission:view_custom_report']);Frontend Implementation
All of a logged-in user's permissions are available in your React components via the userCan prop. You can use this to conditionally render UI elements.
import { usePage } from '@inertiajs/react';
import { type UserCan } from '@/types';
import { Button } from '@/components/ui/button';
export default function MyComponent() {
const can = usePage().props.userCan as UserCan;
return (
<div>
{/* This link will only be rendered if the user can view the report */}
{can.view_custom_report && (
<a href={route('custom.report')}>View Custom Report</a>
)}
</div>
);
}Deleting Permissions
You can delete permissions from the permissions page by selecting them and using the "Delete Selected" button.
Be extremely careful when deleting permissions. Removing a permission that is used in the application's code can lead to unexpected behavior or lock users out of important features. It is generally not recommended to delete the default permissions.
Accidentally Deleted a Permission?
If you accidentally delete a default permission, you can easily recreate it. Simply use the "Create Permission" button and enter the exact name of the permission you want to restore, using the list of default permissions on this page as a reference.