Cloning Projects
Cloning allows you to create an exact copy of an existing project, including its full collection structure. This is incredibly useful when you want to start a new project with the same content model as a previous one, saving you from having to rebuild it manually.
How to Clone a Project
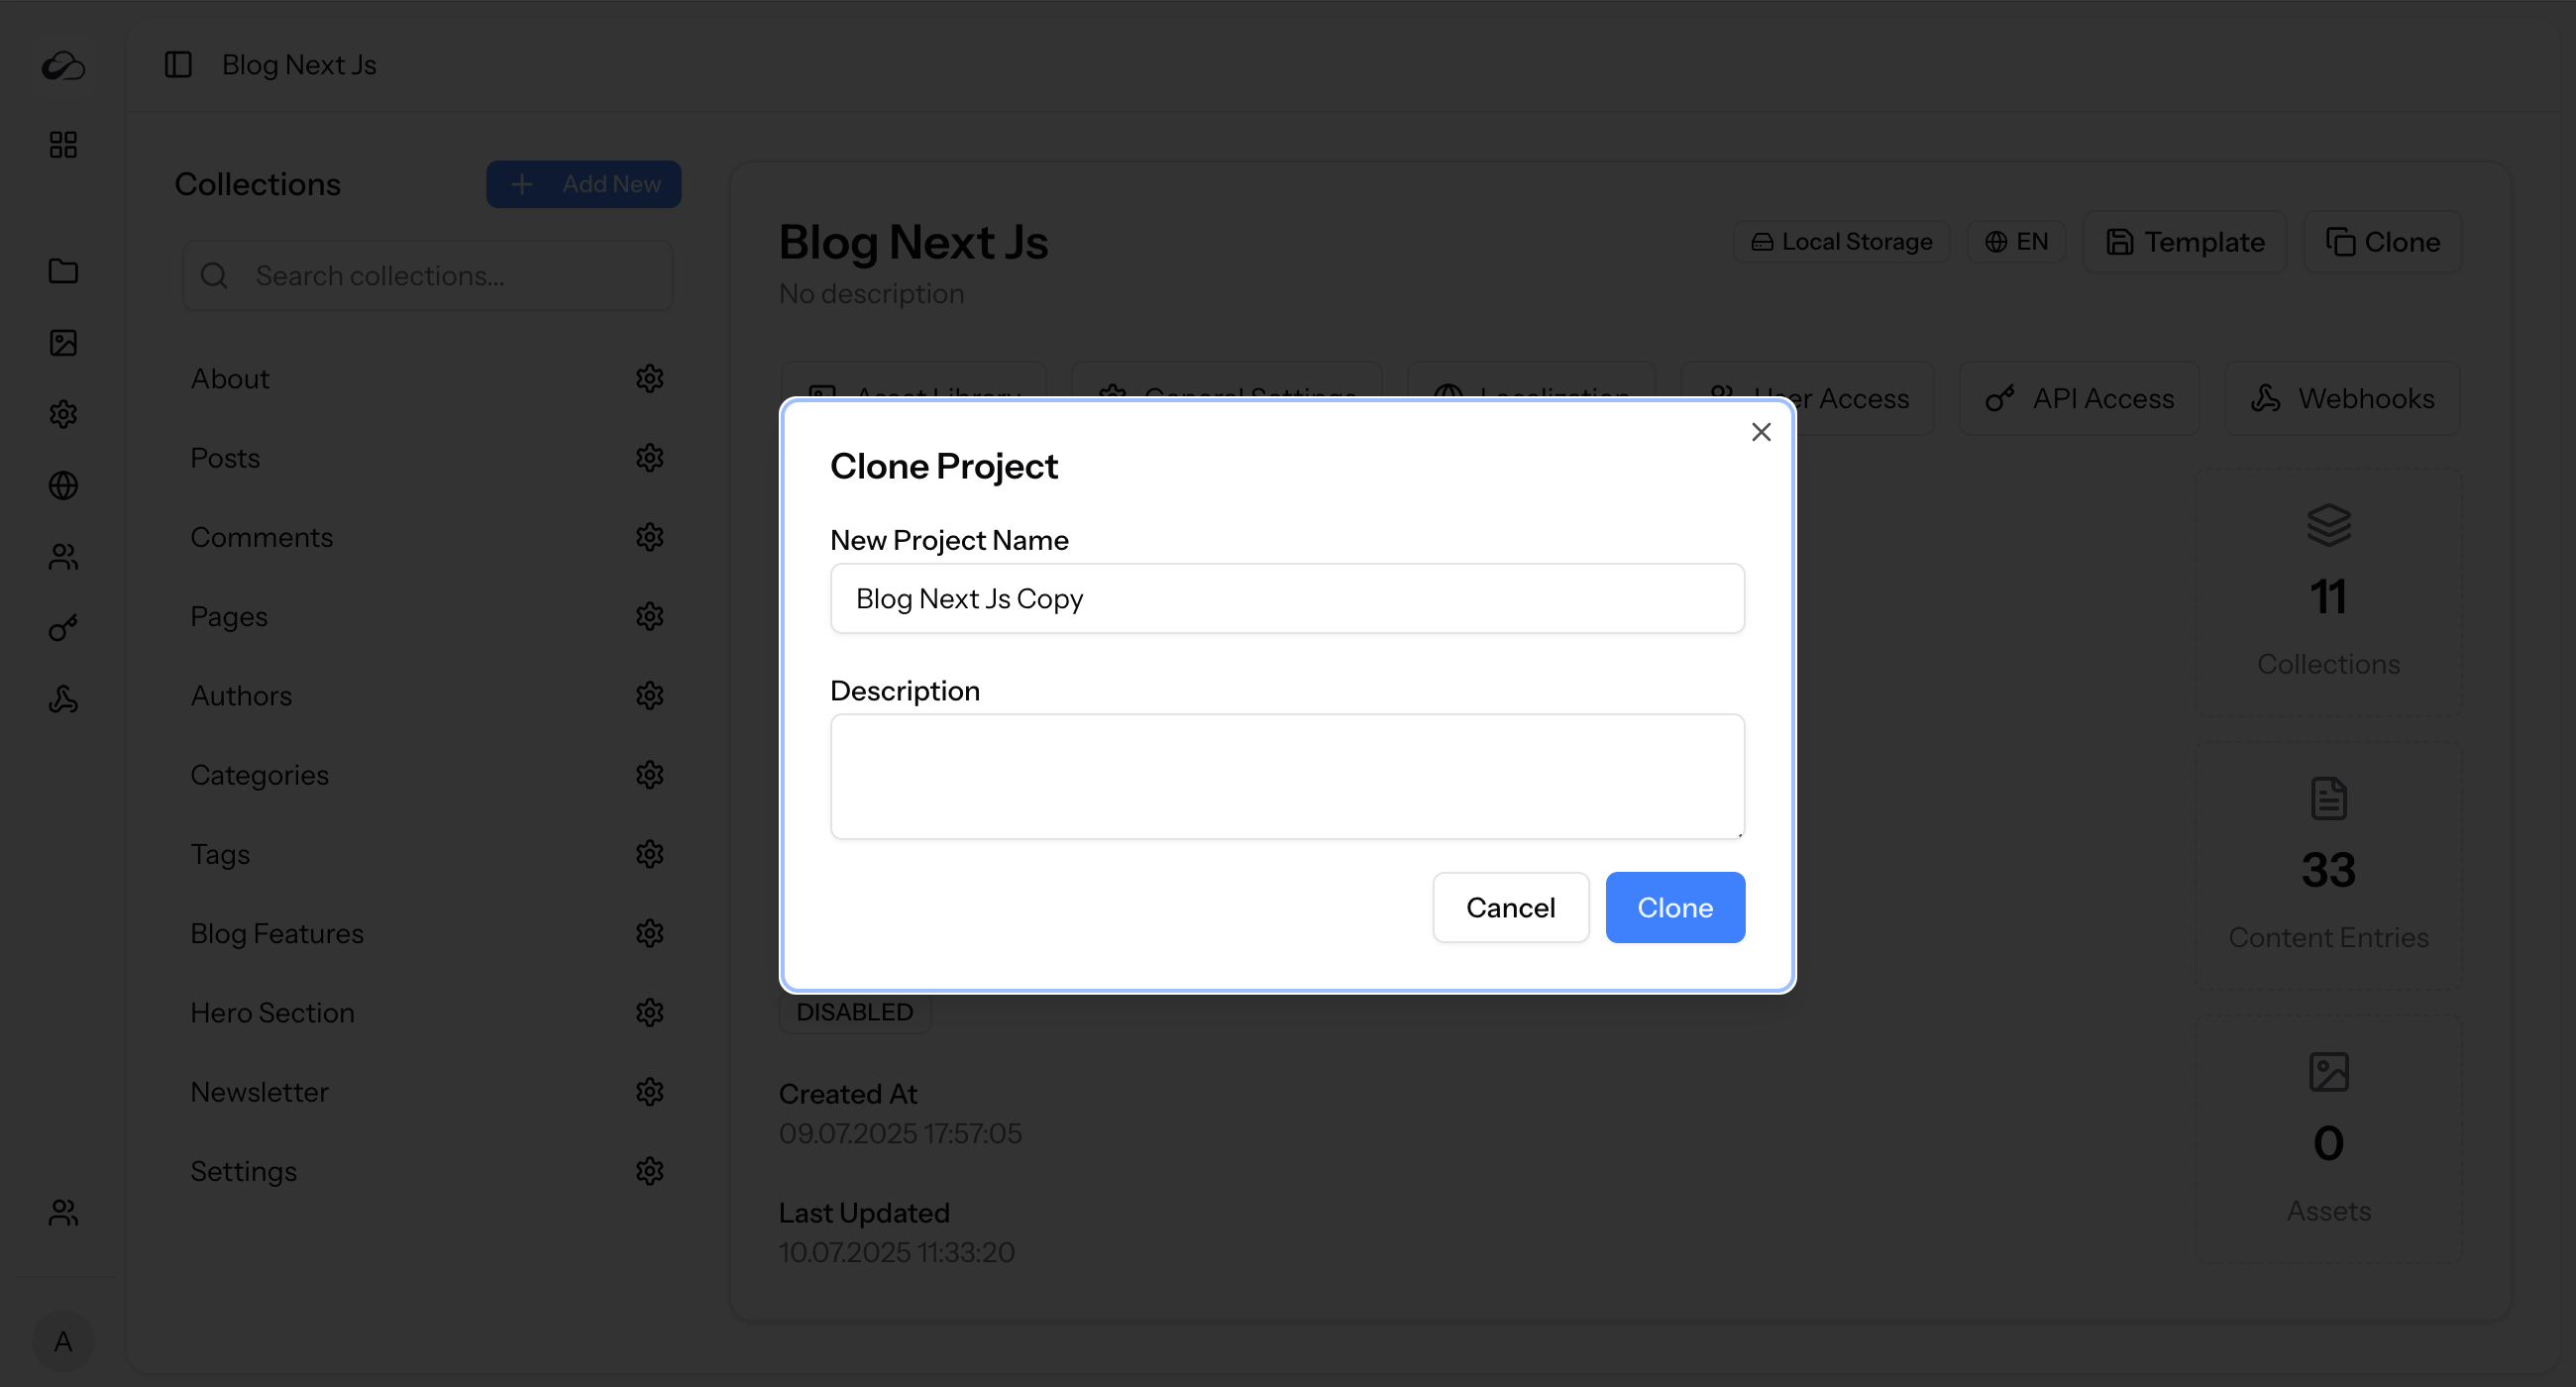
- From the project dashboard, click the Clone button in the header.
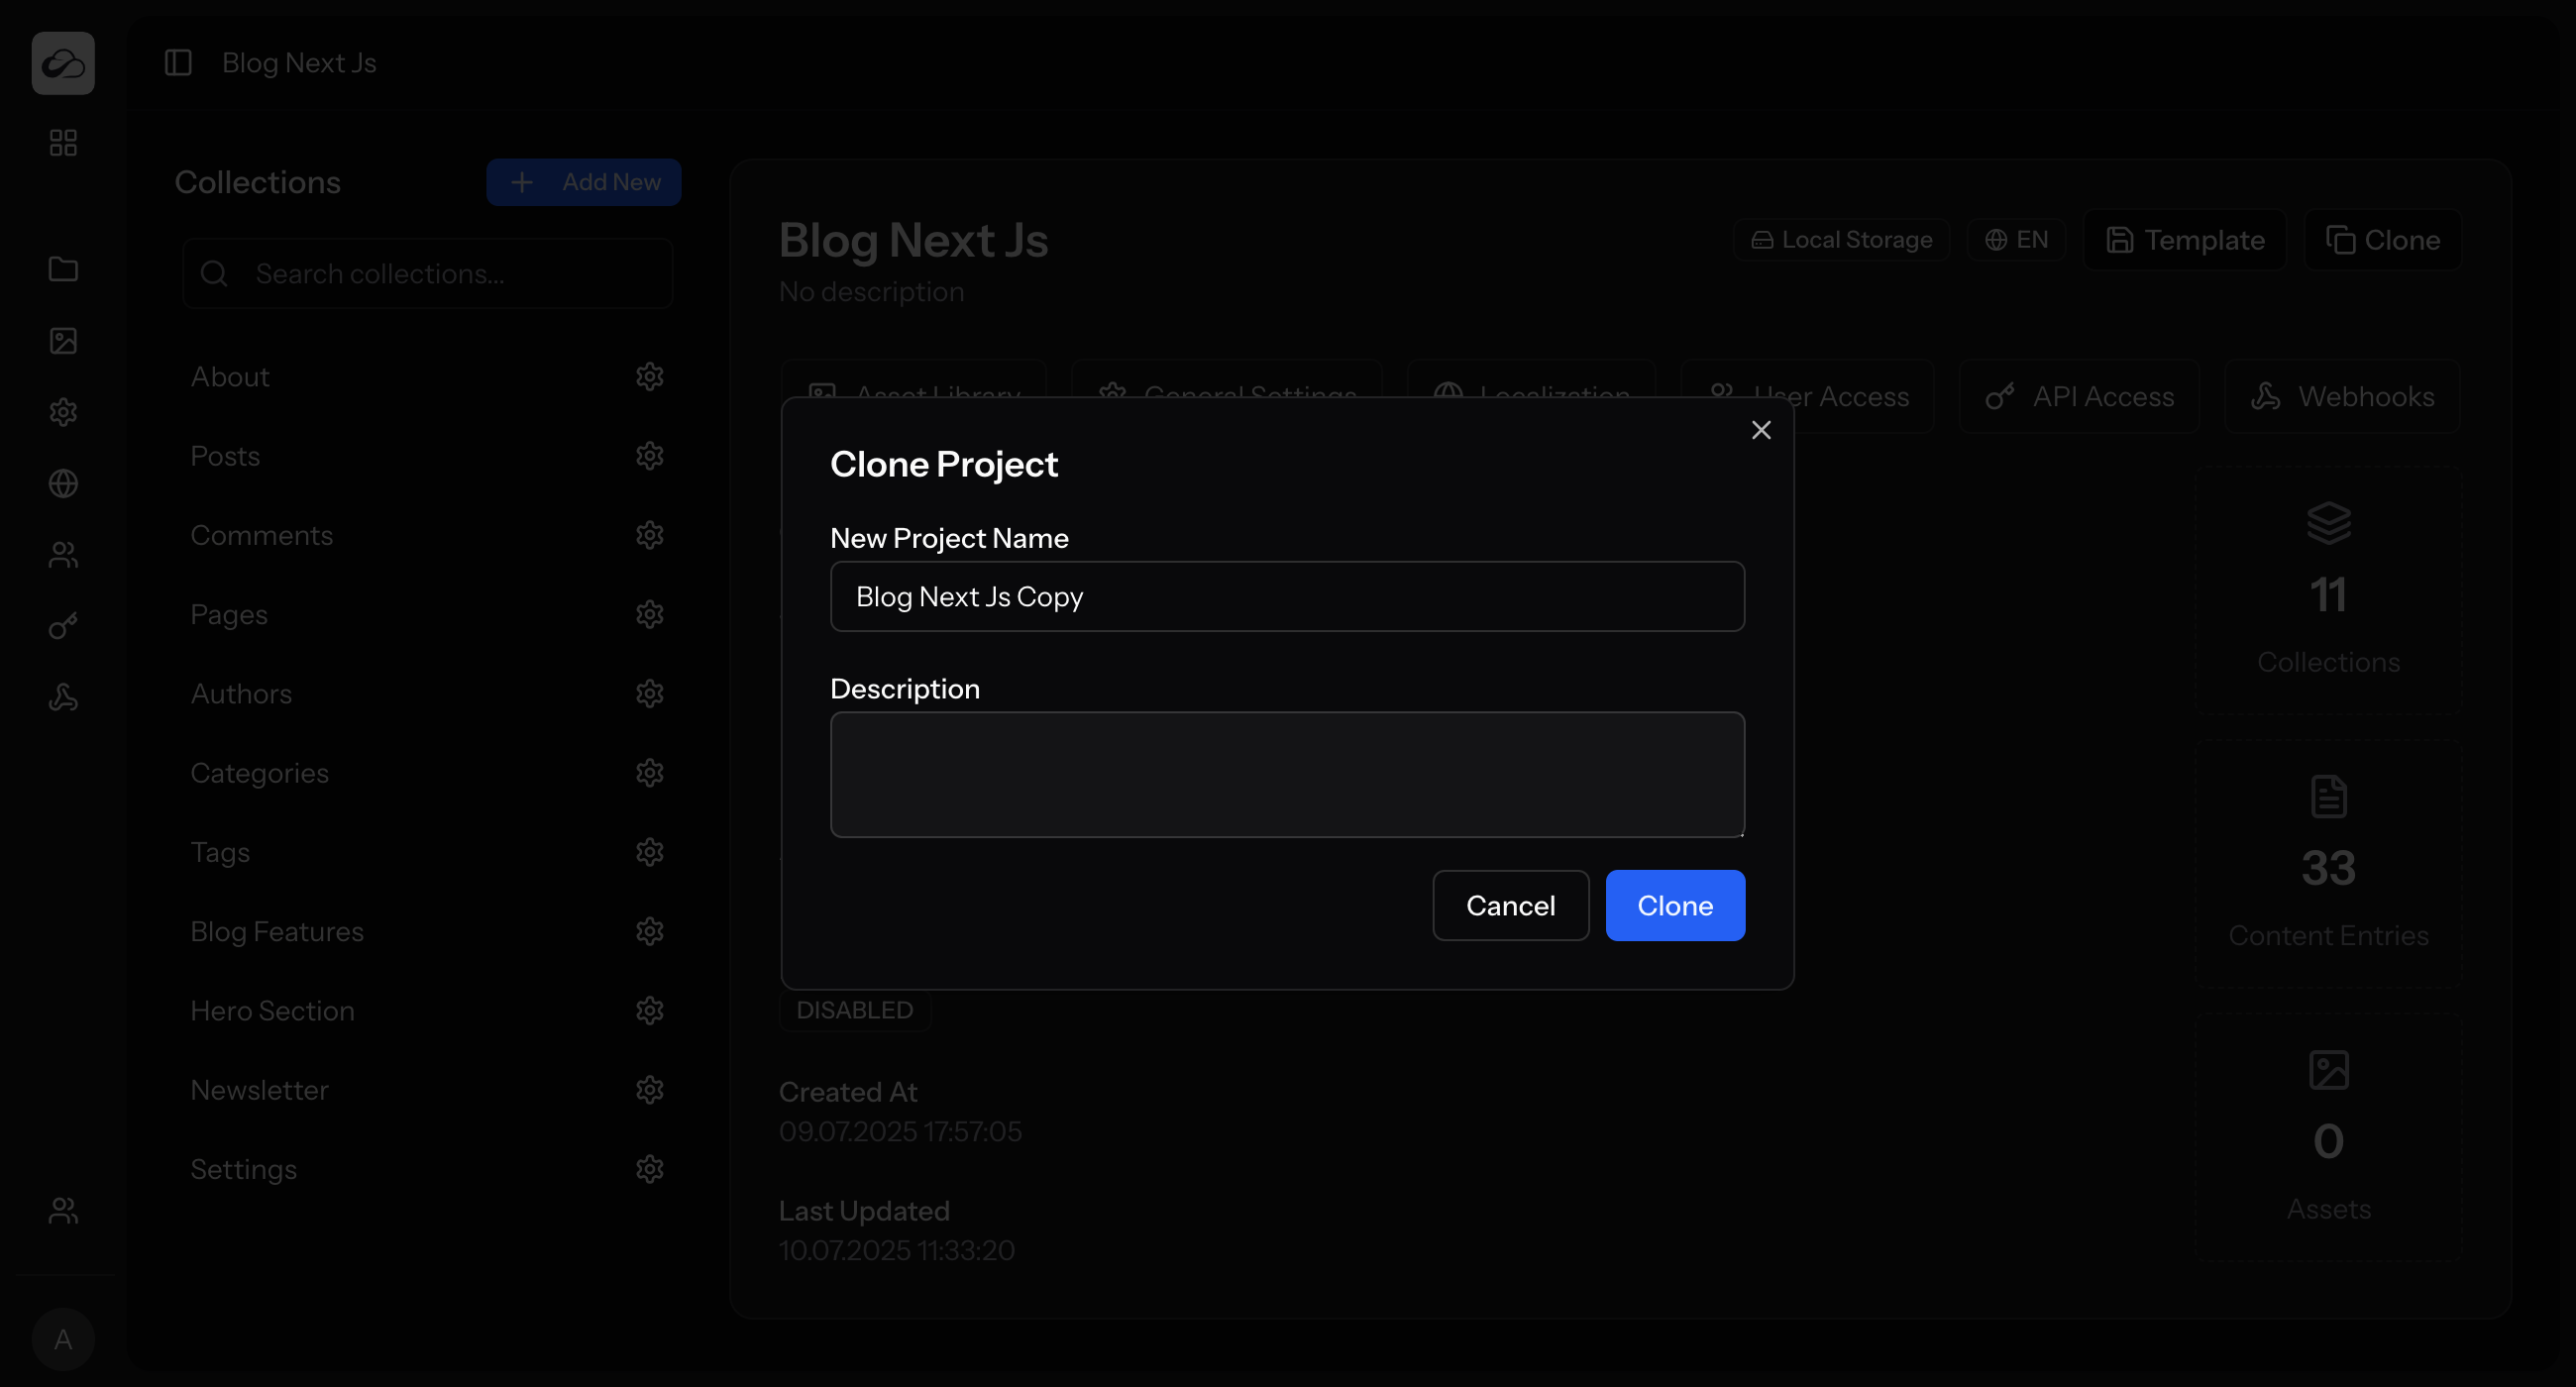
- A dialog will appear, pre-filled with the original project's name followed by "Copy".
- You can customize the name and description for the new cloned project.
- Click Clone Project.
You will be redirected to the dashboard of the newly cloned project.
Note: Cloning a project only copies the collections and their fields. It does not copy the content entries or assets from the original project. The new project will have an empty content library.
Saving a Project as a Template
If you have a project structure that you plan to reuse frequently, you can save it as a Project Template directly from the UI. This makes the structure available for selection whenever you create a new project.
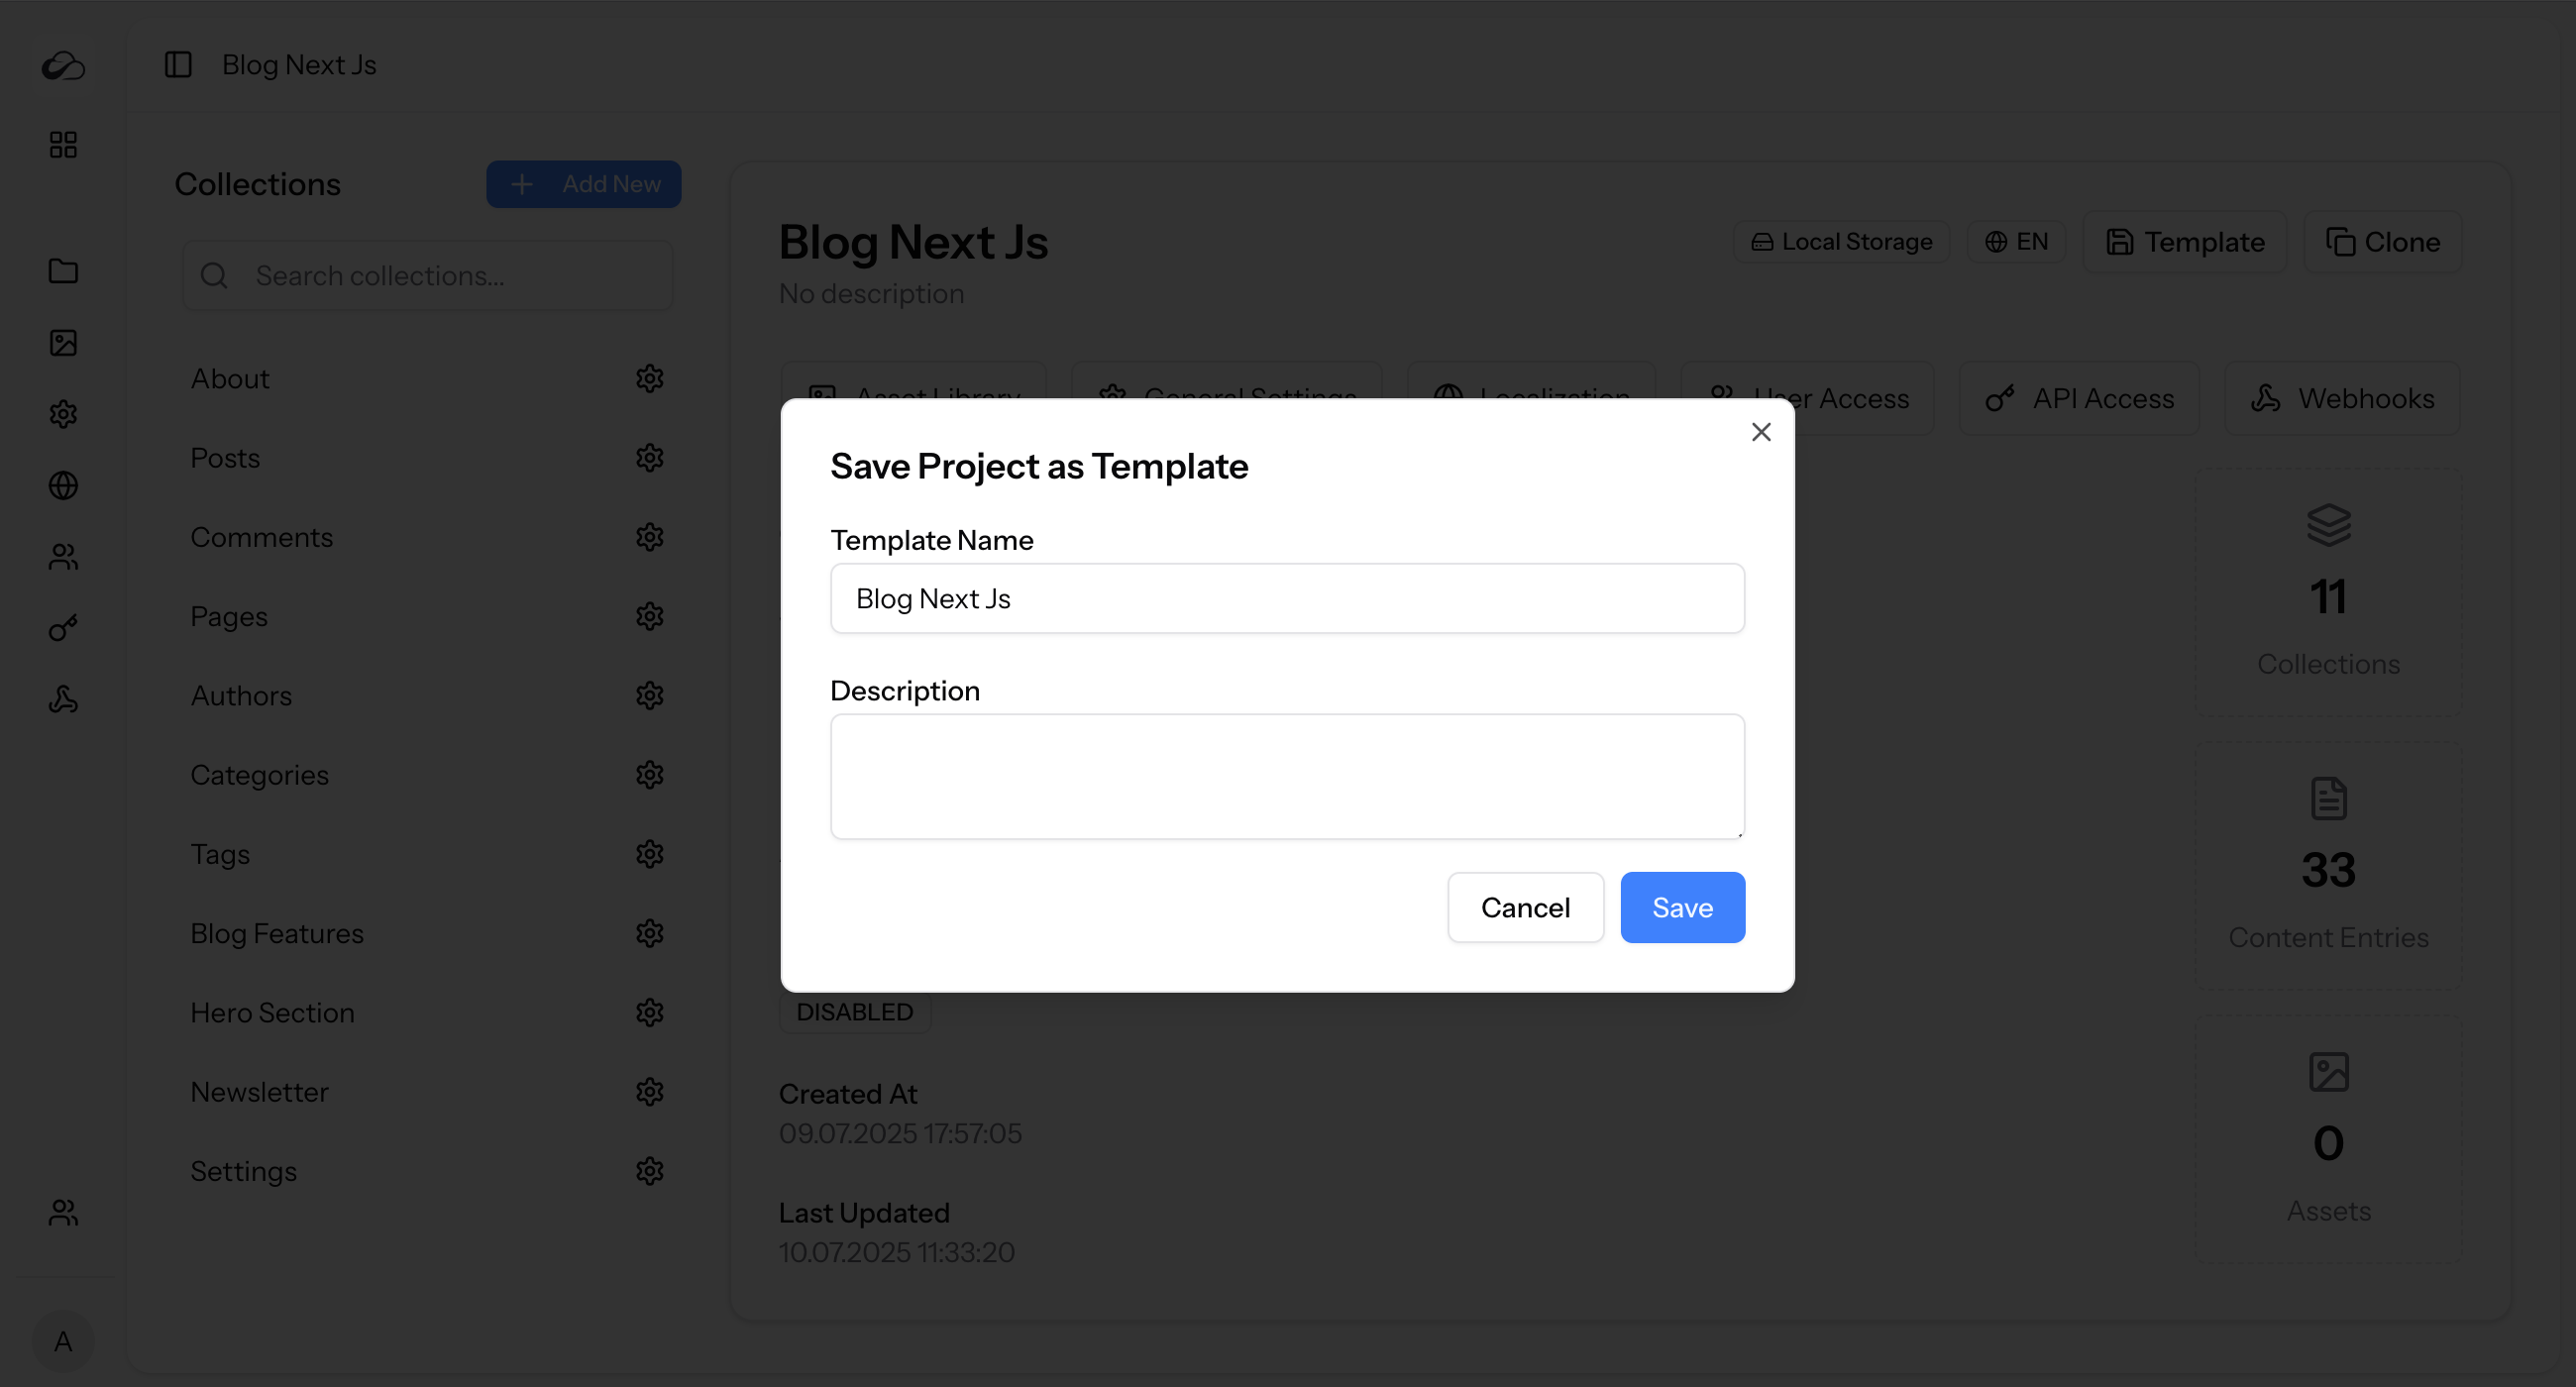
- From the project dashboard, click the Template button in the header (it has a save icon).
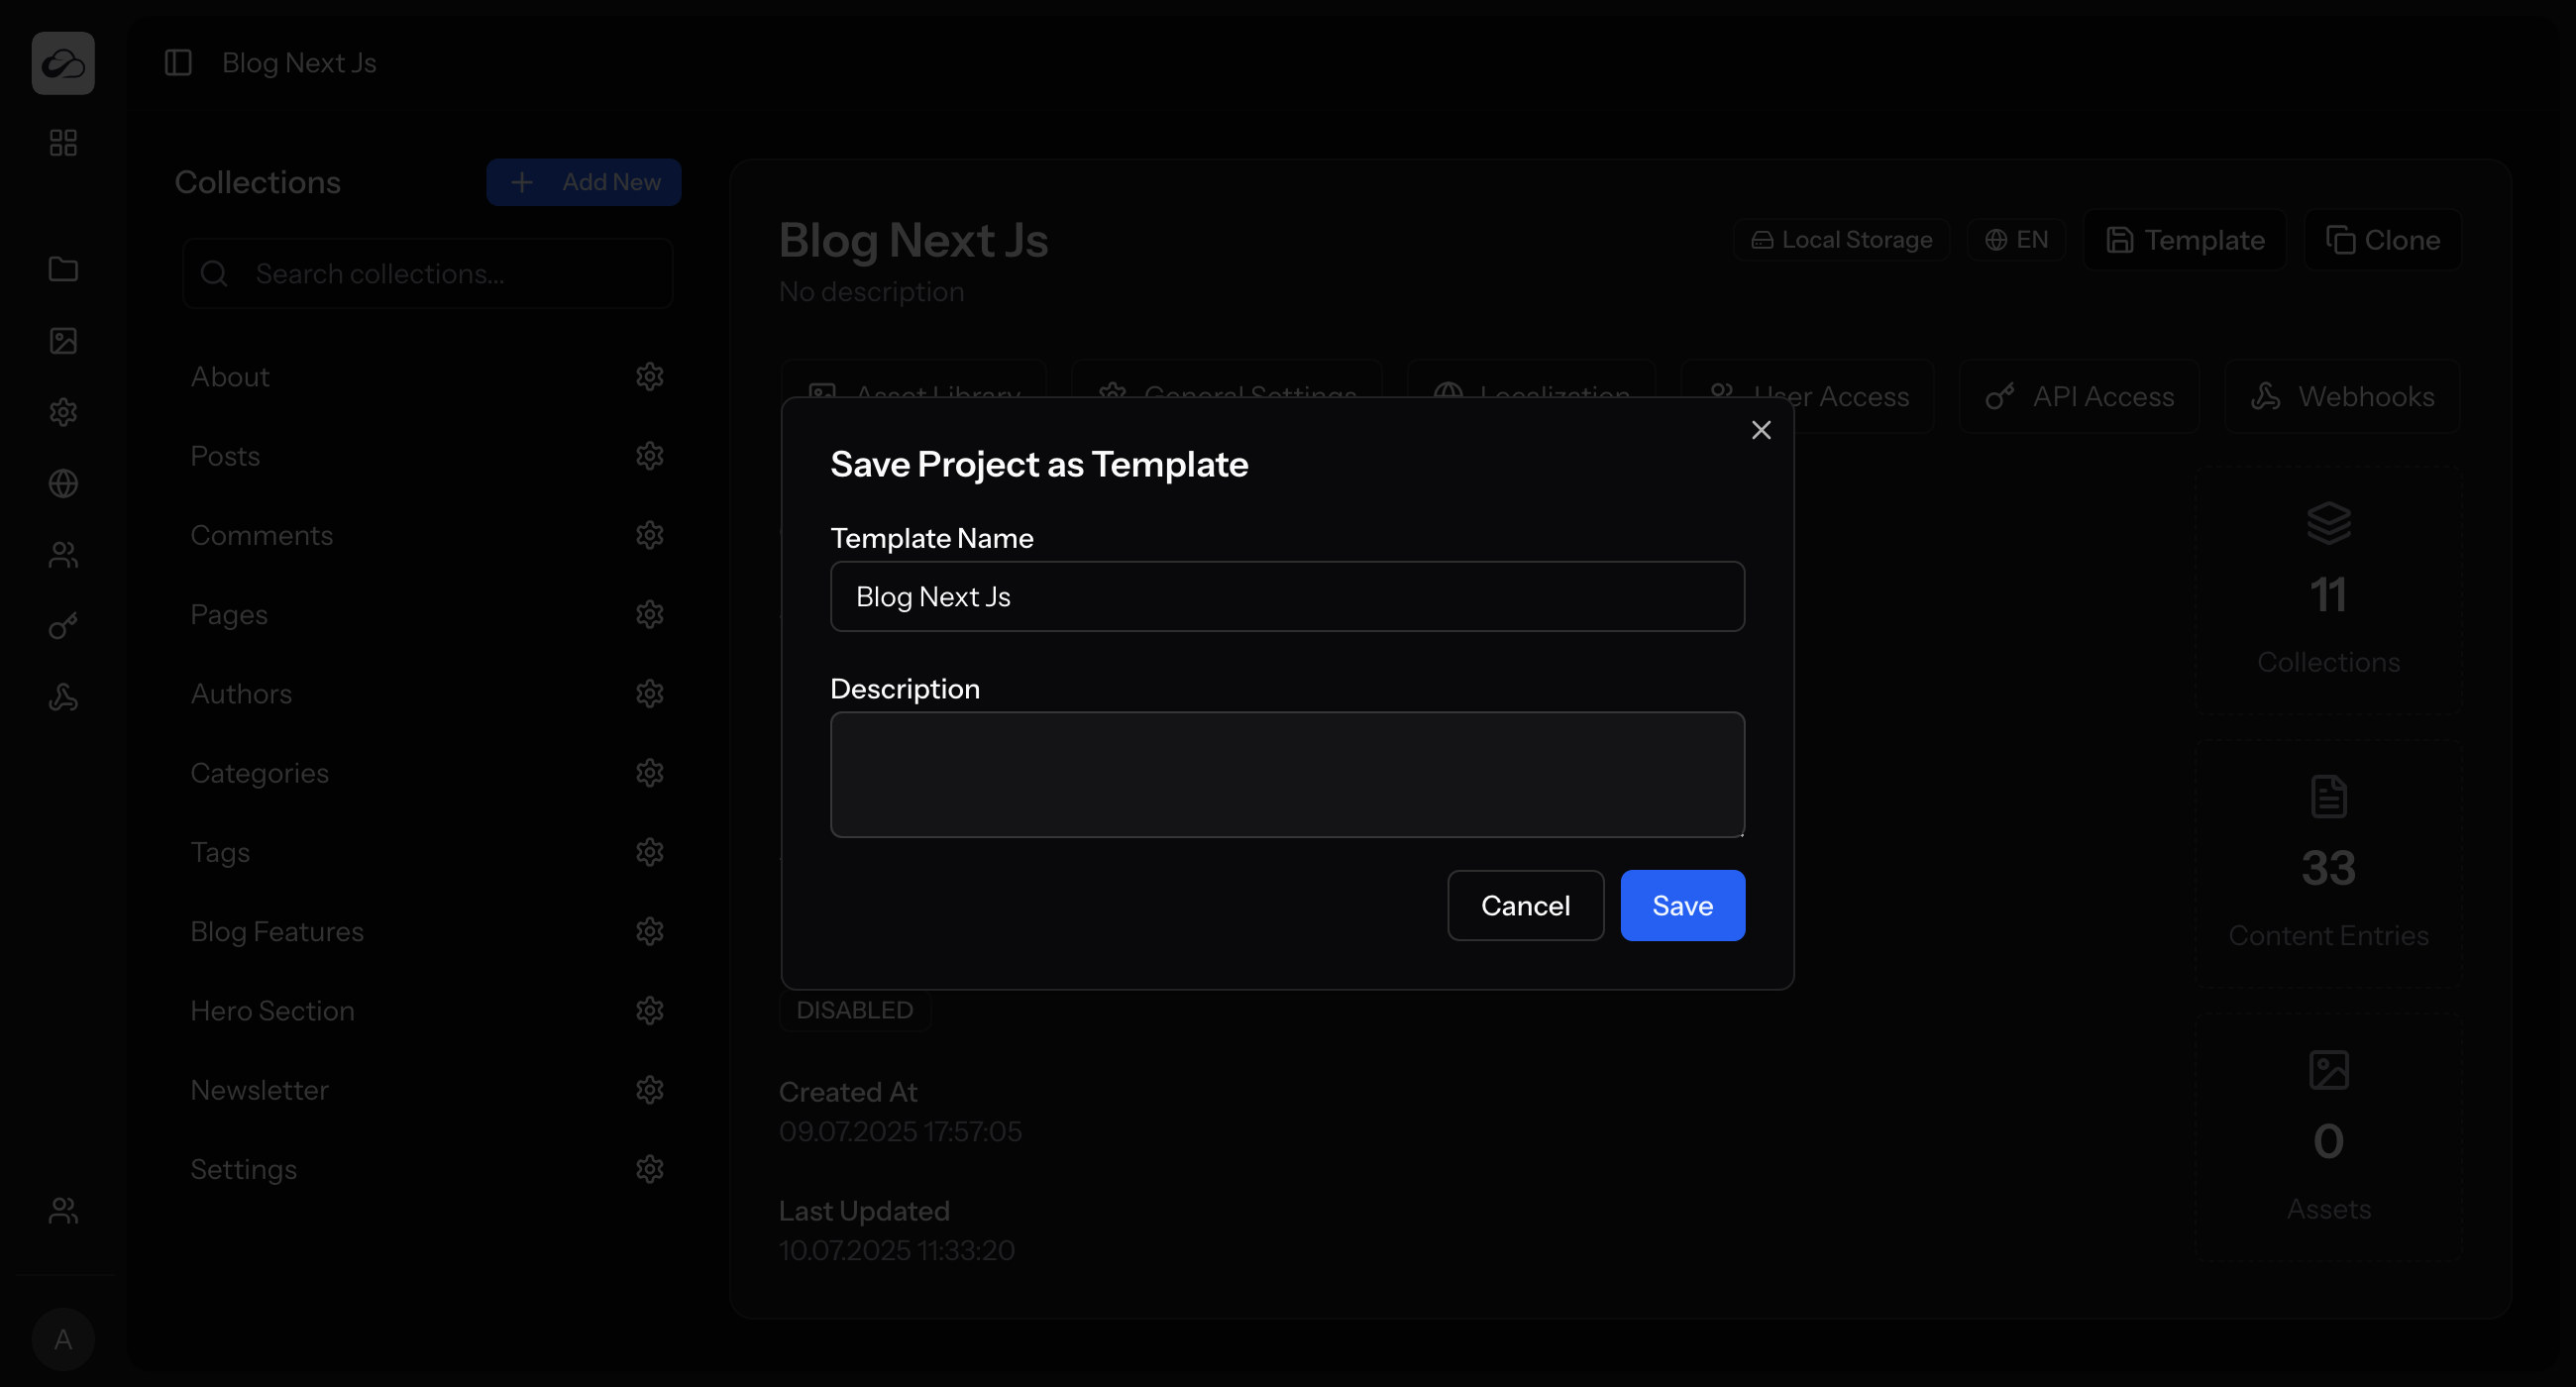
- In the dialog that appears, provide a name and description for your template.
- Click Save Template.
Now, when you go to the main ElmapiCMS dashboard and click "Create a new project", you will see your newly saved template in the "Choose from a template" dropdown list. This streamlines the process of starting new, consistently structured projects.
Creating Templates Manually
For more advanced use cases, you can create templates by writing JSON files. This allows you to version control templates, include demo data, and share templates across installations. See Project Templates for detailed information on creating template files.