Configuring AWS S3 for Asset Storage
By default, ElmapiCMS stores all uploaded assets on the local server filesystem. You can configure it to use an Amazon Web Services (AWS) S3 bucket instead, which is recommended for production environments to handle scaling, backups, and serving files efficiently.
This guide will walk you through the necessary steps.
1. Prerequisites
Before you begin, you will need:
- An AWS account.
- An S3 bucket created in your desired AWS region.
- An IAM (Identity and Access Management) user with programmatic access credentials (
Access Key IDandSecret Access Key).
IAM User Permissions
Your IAM user must have sufficient permissions to manage objects in your S3 bucket. A typical policy would include actions like s3:PutObject, s3:GetObject, s3:DeleteObject, and s3:ListBucket.
Here is a sample JSON policy you can attach to your IAM user. Remember to replace your-bucket-name with your actual S3 bucket name.
{
"Version": "2012-10-17",
"Statement": [
{
"Sid": "AllowElmapiCMSAccess",
"Effect": "Allow",
"Action": [
"s3:PutObject",
"s3:PutObjectAcl",
"s3:GetObject",
"s3:DeleteObject",
"s3:ListBucket"
],
"Resource": [
"arn:aws:s3:::your-bucket-name/*",
"arn:aws:s3:::your-bucket-name"
]
}
]
}S3 Bucket Configuration
Ensure your bucket's Block Public Access settings are configured correctly. If you intend to serve assets directly from S3, you may need to disable "Block all public access" and create a bucket policy that grants public read access to objects.
A common bucket policy for public read access:
{
"Version": "2012-10-17",
"Statement": [
{
"Sid": "PublicReadGetObject",
"Effect": "Allow",
"Principal": "*",
"Action": "s3:GetObject",
"Resource": "arn:aws:s3:::your-bucket-name/*"
}
]
}2. Environment Variables
Once you have your AWS credentials and bucket details, add the following variables to your project's .env file:
AWS_ACCESS_KEY_ID=YOUR_ACCESS_KEY
AWS_SECRET_ACCESS_KEY=YOUR_SECRET_KEY
AWS_DEFAULT_REGION=YOUR_BUCKET_REGION
AWS_BUCKET=YOUR_BUCKET_NAME
AWS_URL=YOUR_CDN_OR_S3_URL| Variable | Description |
|---|---|
AWS_ACCESS_KEY_ID | Your IAM user's access key. |
AWS_SECRET_ACCESS_KEY | Your IAM user's secret key. |
AWS_DEFAULT_REGION | The region where your S3 bucket is located (e.g., us-east-1). |
AWS_BUCKET | The name of your S3 bucket. |
AWS_URL | The base URL for accessing your files. This could be your bucket's URL or a custom CloudFront CDN URL. |
3. Selecting S3 Storage for a Project
Even with the environment variables set, each project can specify its storage disk. To use S3 for a specific project's Asset Library:
- Navigate to the project's Settings.
- Go to the Project tab.
- Under Default Storage, select AWS S3.
- Click Save.
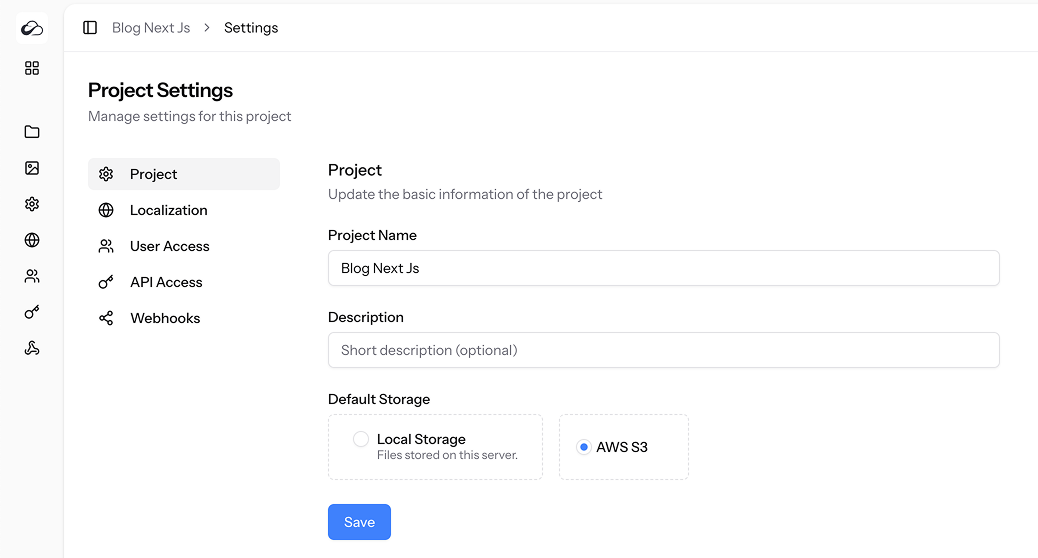
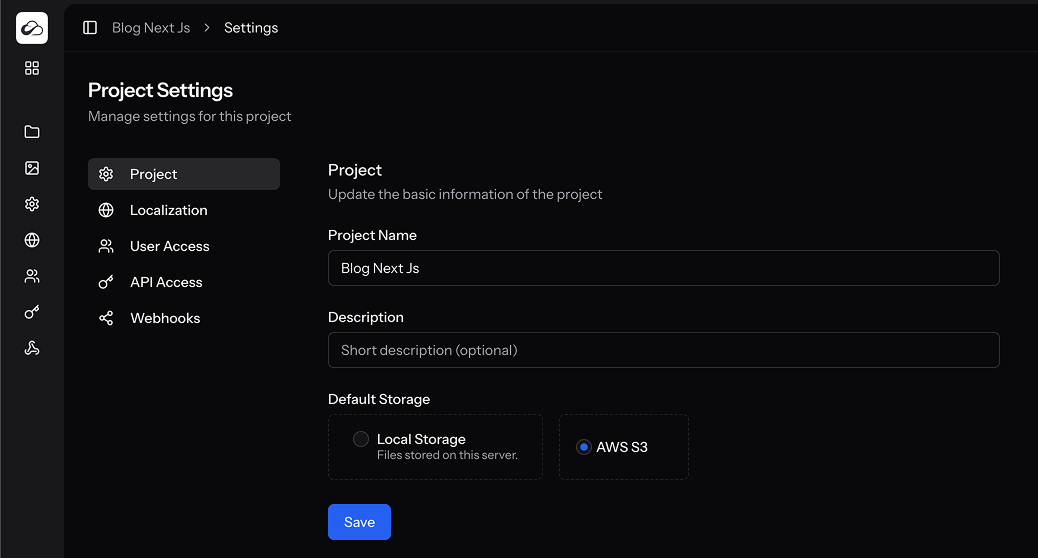
From this point on, all new assets uploaded to this project will be stored in your S3 bucket instead of the local filesystem. Existing assets will remain on their original disk.