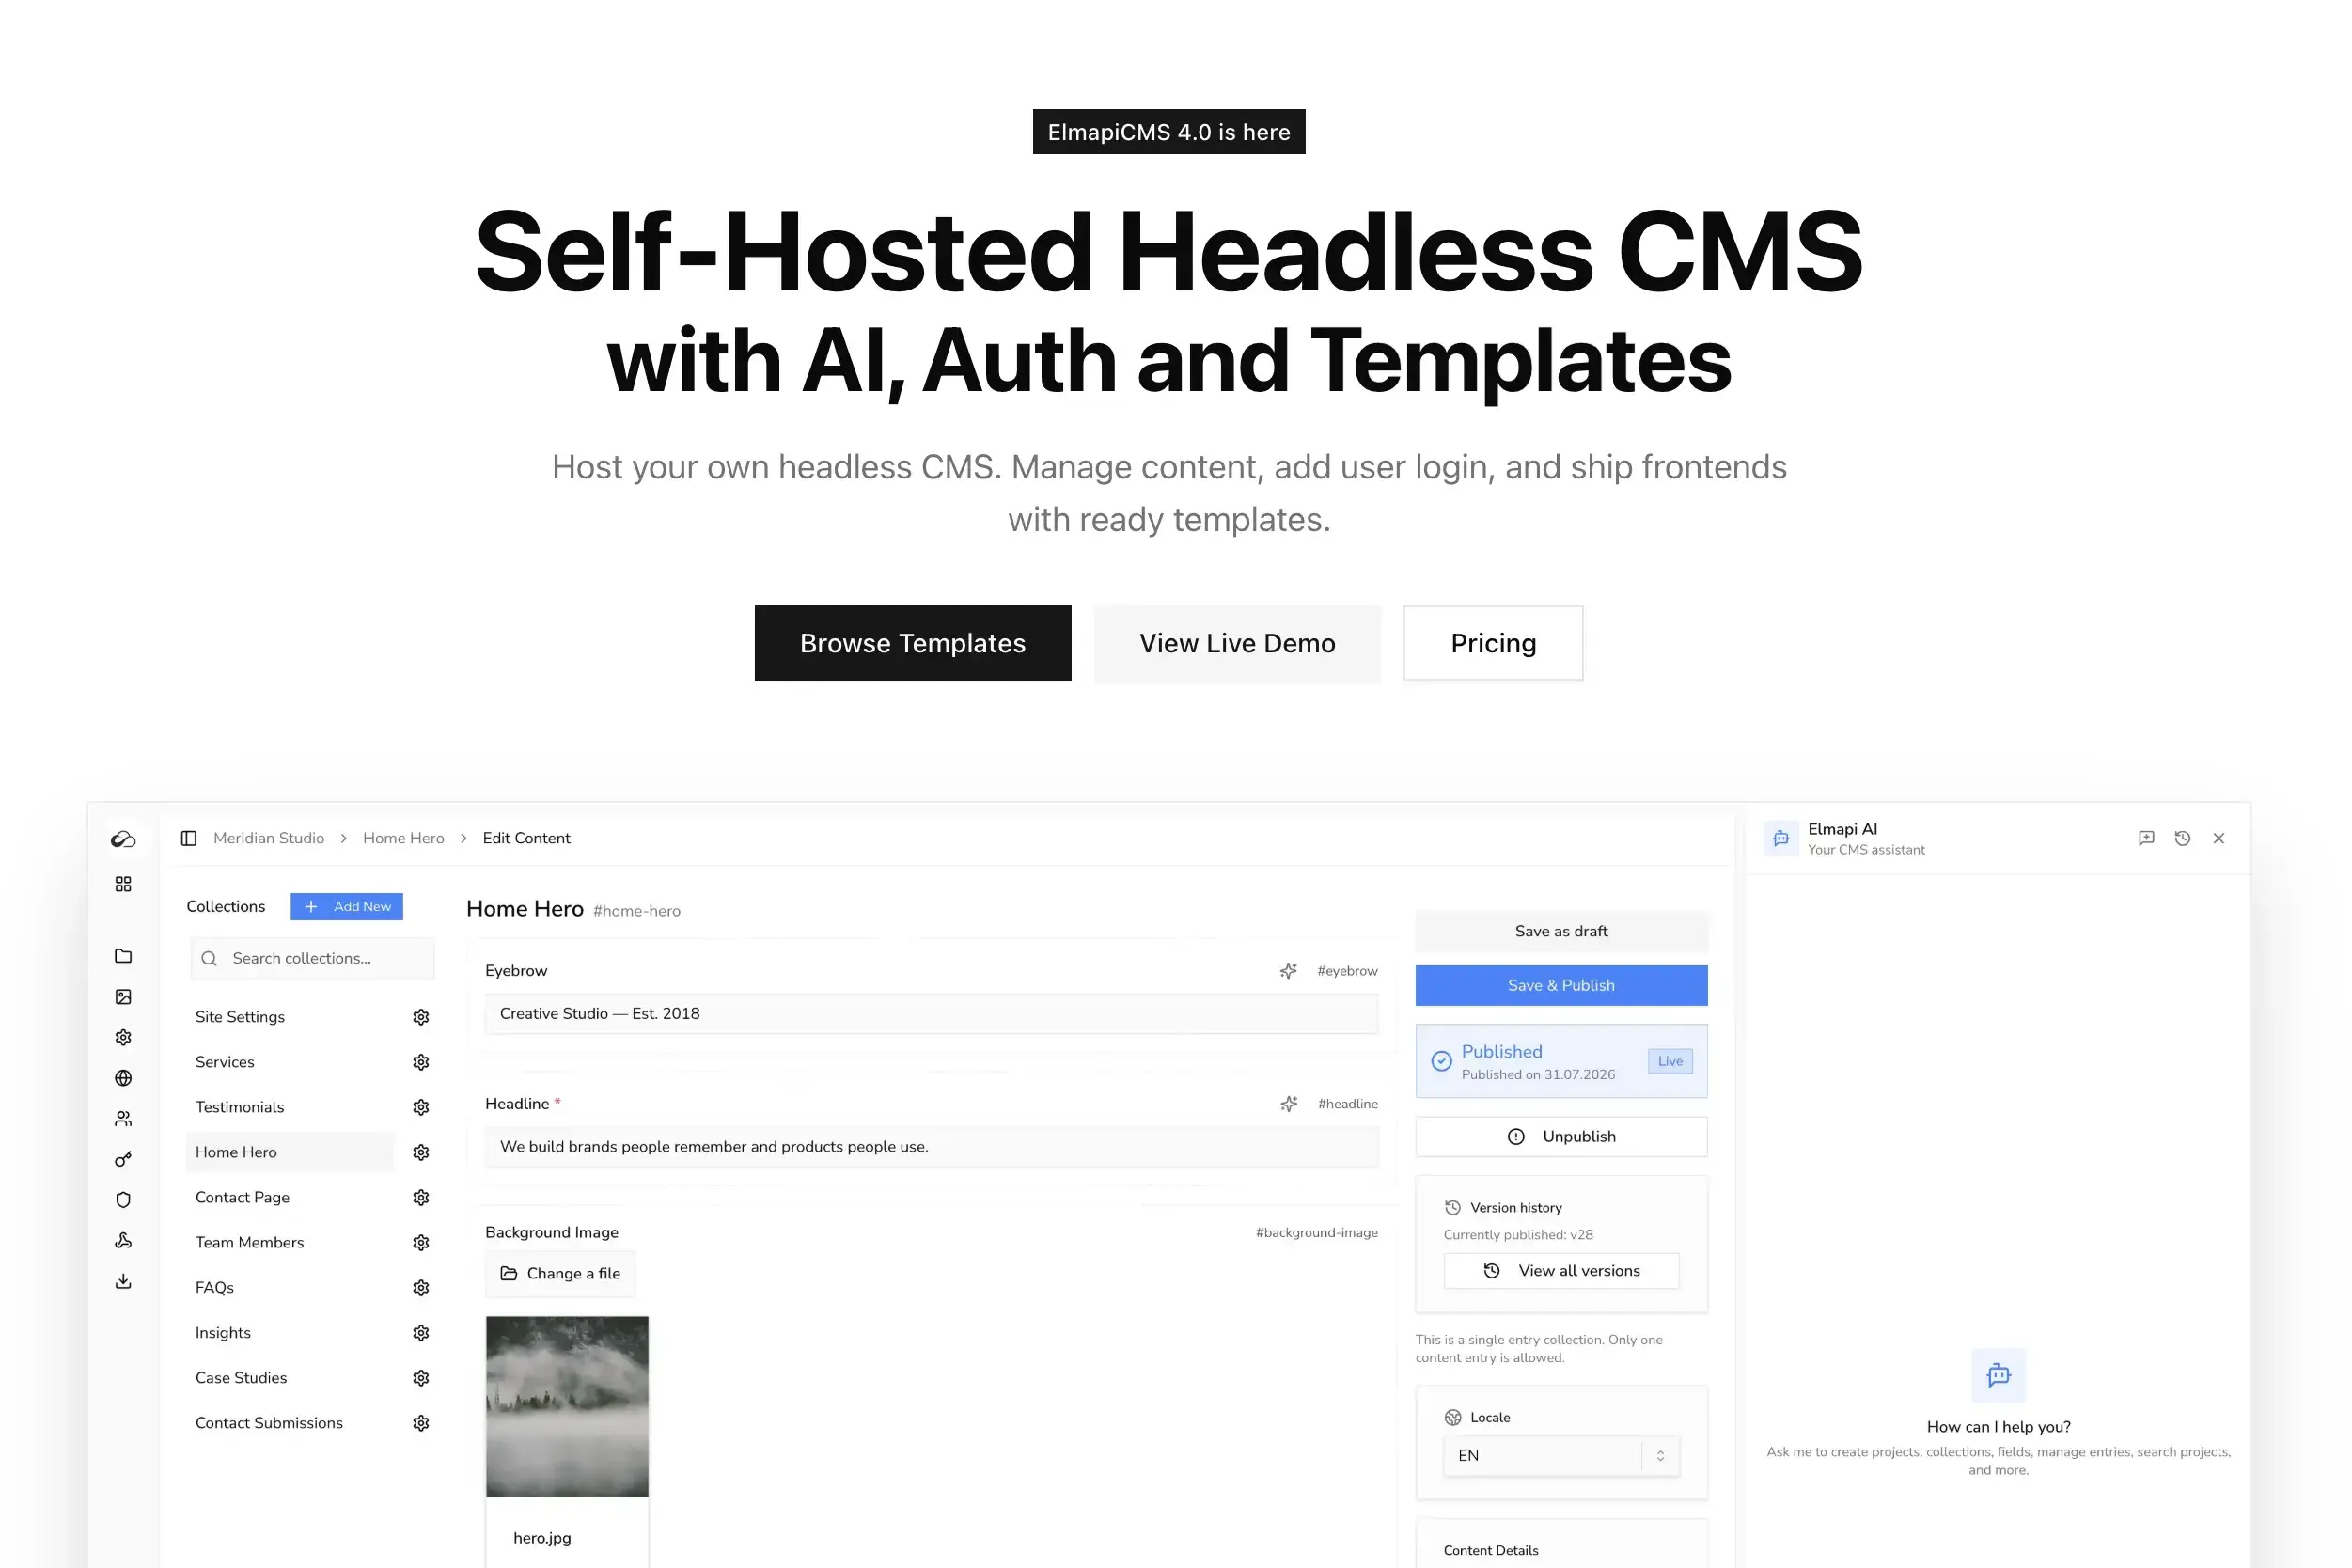
Bolt.new generates full-stack apps from a chat interface. By default it uses mock data or built-in backends. If you want real content from a headless CMS you control, ElmapiCMS fits in as an external backend: you store credentials in Bolt’s secrets, add API or server routes that call the ElmapiCMS Content API, and prompt Bolt to build pages that call those routes so the token never hits the browser.
This guide walks you through getting ElmapiCMS credentials, understanding the correct API shape (from the official docs), and wiring Bolt.new so it uses ElmapiCMS only from the server or edge.

Table of Contents
- Prerequisites
- Step 1: Get ElmapiCMS Credentials
- Step 2: How the ElmapiCMS Content API Works
- Step 3: Add Secrets and Server Routes in Bolt.new
- Step 4: Describe the API and Backend to Bolt
- Step 5: Example Prompts to Build Screens
- Tips and Gotchas
- Next Steps
Prerequisites
- A Bolt.new account and a new or existing project.
- A running ElmapiCMS instance. You can use the demo to try things, or your own install (installation).
- A project in ElmapiCMS with at least one collection (e.g. “Posts”) and a few entries so you have real data to show. If you need to create a project and collection, see the getting started and collections docs.
Step 1: Get ElmapiCMS Credentials
ElmapiCMS uses project-scoped API access. Every request must include the project and, for private APIs, a token. You get these from the project’s API Access settings.
Where to find them
- Log in to your ElmapiCMS admin and open the project that has your content (e.g. your blog project).
- Go to Settings → API Access (see API Access in the docs).
- On that page you’ll see:
- Content API Endpoint – The base URL for all API calls, usually
https://your-domain.com/api. Copy this; your Bolt server routes will use it. - Project ID – A UUID that identifies this project. Every request must send it in the
project-idheader.
- Content API Endpoint – The base URL for all API calls, usually
- If the project’s API is private (Public API is OFF), you need an access token:
- Click Create Token.
- Give it a name (e.g. “Bolt”) and tick the read ability.
- Copy the token immediately; it won’t be shown again. Store it in your password manager or env.
What you’ll use in Bolt.new
- Base URL = Content API Endpoint (e.g.
https://cms.example.com/api). - Headers =
Accept: application/json,project-id(your project ID), and for private APIs:Authorization: Bearerfollowed by your token.
If your project has Public API enabled, you only need the project-id header for GET requests; you can omit the Authorization header. For clarity this guide assumes a private API and a token.
Step 2: How the ElmapiCMS Content API Works
The ElmapiCMS Content API is collection-based. The path is the collection slug (e.g. posts or blog-posts). Base URL + path + query = full URL.
Base URL and headers
- Base URL: The Content API Endpoint you copied (e.g.
https://your-domain.com/api). - Required headers:
Accept: application/jsonproject-id= your project ID- For private APIs:
Authorization: Bearer+ your token
Full details: Content API introduction.
List entries (e.g. blog posts)
Paginated: use paginate and page. The parameter name is paginate, not per_page.
GET /posts?paginate=10&page=1
Full URL example: https://your-domain.com/api/posts?paginate=10&page=1
Response: An object with data (array of entries), meta (current_page, last_page, total, etc.), and links (first, next, prev, last). See List Entries in the docs.
Without paginate: Omit paginate and you get a plain array of all entries.
Get one entry by slug
There is no dedicated “get by slug” path. You filter the list using the where parameter, then take the first (or only) item.
GET /posts?where[slug]=my-post-slug
Full URL example: https://your-domain.com/api/posts?where[slug]=my-post-slug
The response is either a single entry or a short array; use the first element. Filtering is described in Advanced Filtering.
Response shape
Each entry has:
uuid– Unique id.fields– Object with your collection’s fields (e.g.title,slug,content,excerpt).- Optionally
locale,published_at, etc.
So in code you’ll use entry.fields.title, entry.fields.slug, entry.fields.content, and so on.
Step 3: Add Secrets and Server Routes in Bolt.new
Bolt.new builds apps that can run on the server (e.g. Next.js API routes, Netlify/Vercel functions). The goal is to keep the ElmapiCMS token on the server and expose your own routes that the UI calls.
Store credentials as secrets
- In your Bolt.new project, open Secrets or Environment variables (often under project settings or “Database / Backend” in Bolt Cloud).
- Add:
ELMAPICMS_BASE_URL= your Content API Endpoint (e.g.https://your-domain.com/api)ELMAPICMS_PROJECT_ID= your project IDELMAPICMS_TOKEN= your token (for private API)
Never paste the token into frontend code or prompts that generate client-side code.
Create server/API routes that call ElmapiCMS
Ask Bolt to add server-side or API routes that proxy to ElmapiCMS. For example:
- List posts: A route like
GET /api/posts?page=1(orGET /api/blogwith query params) that internally callsELMAPICMS_BASE_URL/posts?paginate=10&page=1with headersAccept: application/json,project-id: ELMAPICMS_PROJECT_ID,Authorization: Bearer ELMAPICMS_TOKEN, and returns the JSON. - Post by slug: A route like
GET /api/posts/[slug]that callsELMAPICMS_BASE_URL/posts?where[slug]=<slug>with the same headers and returns the first item (or the whole response).
If Bolt generates a Next.js app, these are typically files under app/api/ or pages/api/. If it uses Netlify/Vercel-style functions, they live in the functions folder. The important part: only these server routes use the env vars; the frontend calls /api/posts and /api/posts/my-slug, not the ElmapiCMS URL directly.
Step 4: Describe the API and Backend to Bolt
Before or while you ask for server routes and pages, give Bolt a short, accurate description of what you need. You can paste something like this (adjust collection and route names to match yours):
This app uses ElmapiCMS as its content backend. Credentials are in env: ELMAPICMS_BASE_URL, ELMAPICMS_PROJECT_ID, ELMAPICMS_TOKEN.

Add server/API routes that call ElmapiCMS so the token never goes to the browser:

1) List posts: GET /api/posts?page=1
   - Server calls: GET {ELMAPICMS_BASE_URL}/posts?paginate=10&page={page}
   - Headers: Accept: application/json, project-id: {ELMAPICMS_PROJECT_ID}, Authorization: Bearer {ELMAPICMS_TOKEN}
   - Return the JSON response as-is (object with "data" array; each item has "uuid" and "fields" e.g. fields.title, fields.slug, fields.content, fields.excerpt).

2) One post by slug: GET /api/posts/[slug]
   - Server calls: GET {ELMAPICMS_BASE_URL}/posts?where[slug]={slug}
   - Same headers.
   - Return the first item from the response (array or single object).

Use "posts" or replace with your collection slug. Frontend pages must call these /api routes only, not the ElmapiCMS URL.
That gives Bolt the contract: two backend routes, correct headers, and that the UI must use those routes.
Step 5: Example Prompts to Build Screens
Once the API routes exist, ask for pages that call them.
Blog list page
Add a /blog page that fetches posts from our backend.
Call GET /api/posts?page=1 (or the list route we defined).
Use the "data" array from the response. For each post show fields.title, fields.slug, fields.excerpt and link to /blog/[slug].
Single post page
Add a page at /blog/[slug] that fetches one post by slug.
Call GET /api/posts/[slug] (or our backend route for one post).
Show fields.title and fields.content.
Homepage with latest posts
On the home page, show the latest 3 blog posts.
Call GET /api/posts?page=1 and take the first 3 from the "data" array (or add a limit param to the backend if you prefer).
Display title, excerpt, and a link to /blog/[slug] for each.
If Bolt generates fetch calls to the ElmapiCMS URL or puts the token in the client, remind it: “Never call the CMS URL from the frontend. Only call our /api/posts and /api/posts/[slug] routes. The token and project ID must stay in server/API code.”
Tips and Gotchas
- Token on server only: All requests to ElmapiCMS must go from server/API routes. The browser only talks to your own
/api/*endpoints. - Headers on every backend request: Backend code that calls ElmapiCMS must send
Accept: application/json,project-id, andAuthorization: Bearer+ token. If you get 401 or empty data, check the server route. - Path = collection slug: The path is the collection slug only, e.g.
/posts. Full example:baseUrl + '/posts?paginate=10&page=1'. - Paginate vs per_page: The ElmapiCMS API uses
paginateandpage. Do not useper_page. - By slug: Use
where[slug]=plus the slug on the list endpoint and take the first item. There is no separate “get by slug” path. - Response shape: With
paginate, the body hasdata,meta, andlinks. Your API route can return the full body or justdata; make sure the frontend uses the same shape.
Next Steps
- API reference: Content API and List Entries for query options (
sort,where,locale, etc.). - API Access: API Access settings for project ID, endpoint, tokens, and public API.
- Other guides: Using ElmapiCMS with Lovable for a similar flow with a different builder; Next.js starter template setup and simple blog with Next.js show how to use the ElmapiCMS SDK in a codebase.
Once Bolt is calling ElmapiCMS only from server/API routes and your pages use those routes, you can iterate in chat to add or change screens and keep the same backend contract.