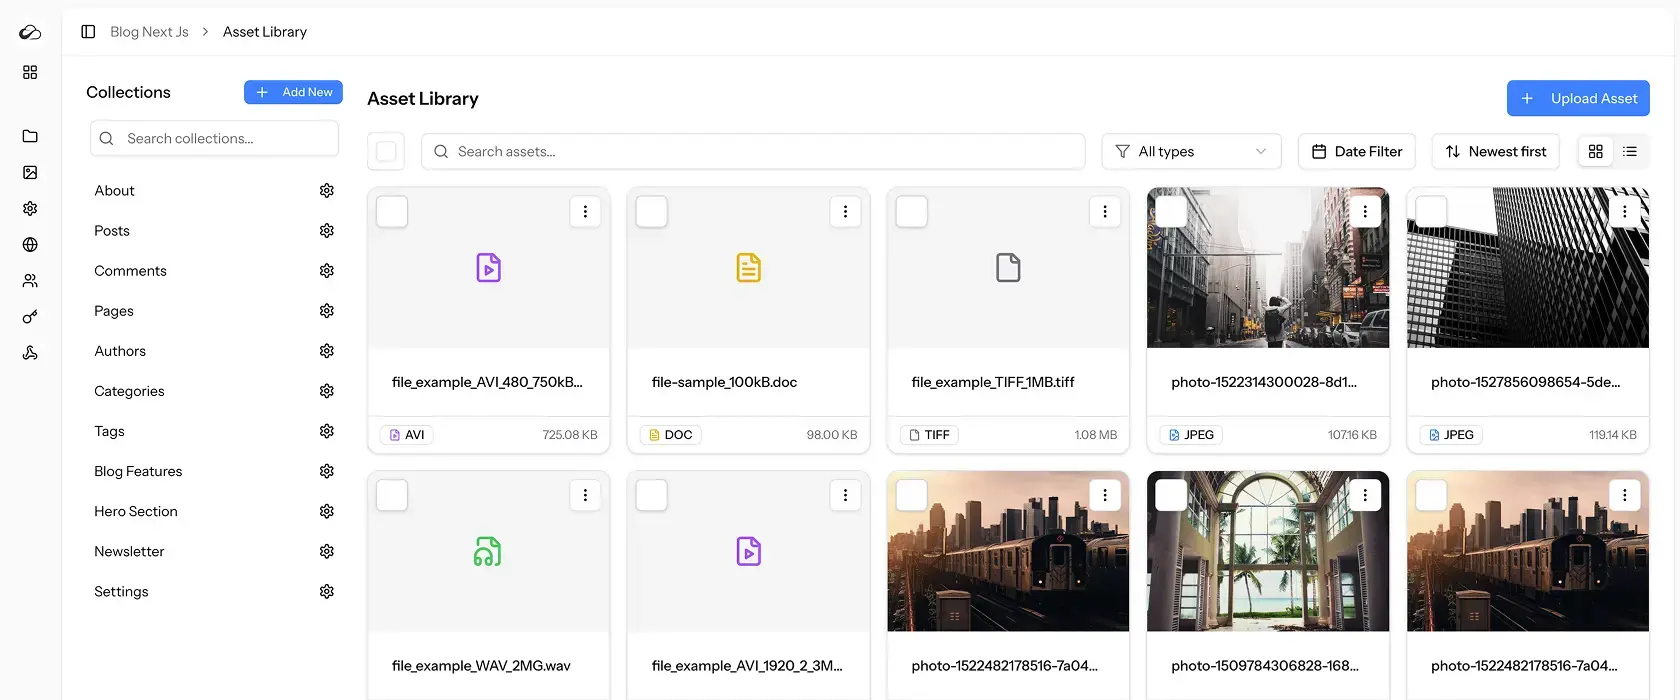
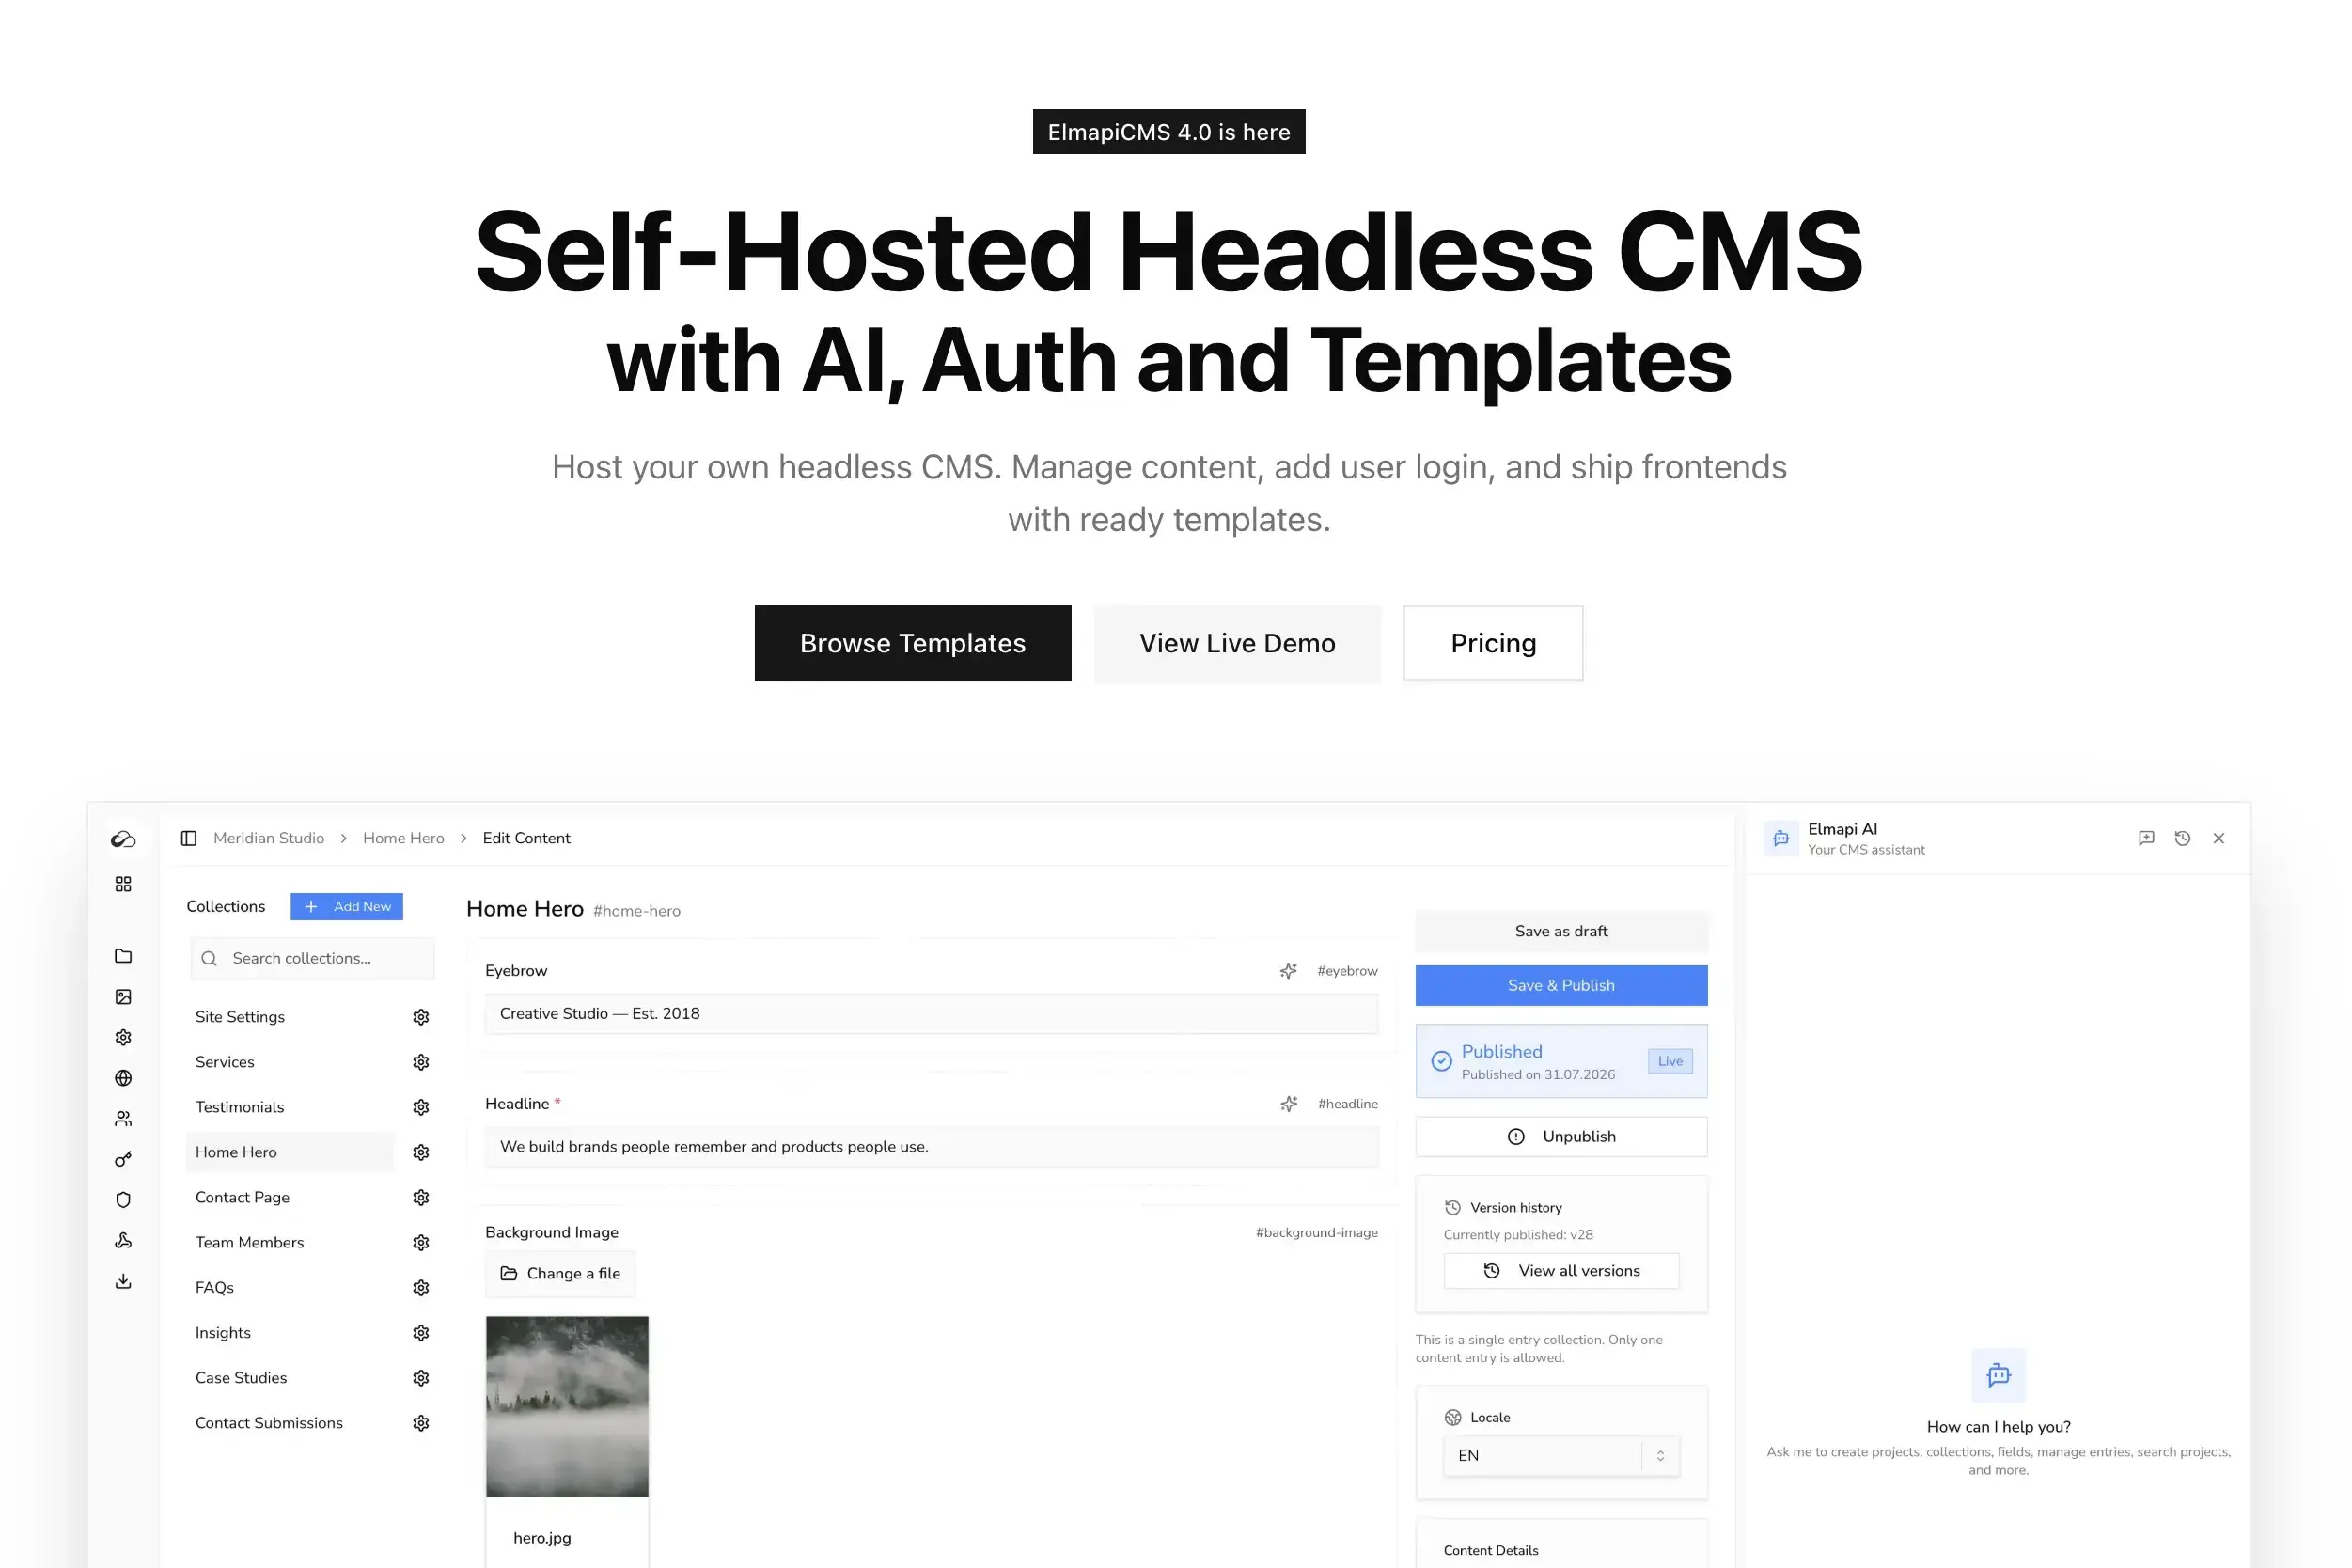
ElmapiCMS now has an official MCP Server, a bridge between your CMS and AI-powered code editors. Install it in Cursor, Claude Code, or any tool that supports the Model Context Protocol, and manage your entire CMS through natural language.
No more switching between your editor and the admin panel to set up content structures. Ask your AI editor to create collections, define fields, write content, and query entries. It handles the API calls for you.
Table of Contents
- What is MCP?
- What Can It Do?
- Getting Started
- Setting Up in Cursor
- Setting Up in Claude Code
- Advanced Content Queries
- Built-in Resources
- Example Workflow
- Links
What is MCP?
The Model Context Protocol (MCP) is an open standard that lets AI tools interact with external systems. Instead of copy-pasting API docs into a prompt, the AI editor connects directly to your service and calls its API through well-defined tools.
When you install the ElmapiCMS MCP Server, your AI editor gains 17 tools for managing your CMS. It knows what collections you have, what field types are available, how to create entries, and how to build complex queries. All without you needing to explain anything.
What Can It Do?
The MCP server covers the entire ElmapiCMS API:
Collections & Fields
- List, get, create, update, and reorder collections
- Create, update, and reorder fields with validations, options, and field groups
- Create a full collection with all its fields in a single request
Content Entries
- List entries with advanced filtering (13 operators, OR groups, relation filtering)
- Get, create, update, and soft-delete entries
- Paginate, sort, count, and exclude fields from responses
Assets
- List, get, upload, and delete media files
Project
- Get project info (name, locales, settings)
Getting Started
Prerequisites
- Node.js 18+ installed on your machine
- A running ElmapiCMS instance with at least one project
- An API token with the abilities you need (
read,create,update,delete,admin)
Install the package
npm install -g @elmapicms/mcp-server
Get your credentials
- Open your ElmapiCMS admin panel
- Go to your project's Settings → API Access
- Copy the Content API Endpoint (e.g.
https://your-domain.com/api) - Copy the Project ID (UUID)
- Create a new API token with all abilities enabled
Setting Up in Cursor
Add the MCP server to your Cursor configuration at ~/.cursor/mcp.json:
{
  "mcpServers": {
    "elmapicms": {
      "command": "npx",
      "args": ["@elmapicms/mcp-server"],
      "env": {
        "ELMAPI_API_URL": "https://your-domain.com/api",
        "ELMAPI_API_KEY": "your-api-key",
        "ELMAPI_PROJECT_ID": "your-project-uuid"
      }
    }
  }
}
Then go to Settings → MCP in Cursor and verify the server is running. You should see elmapicms listed with a green status.
Once connected, you can ask Cursor things like:
- "Create a Blog Posts collection with title, slug, content, featured image, and published fields"
- "List all entries in the products collection where price is less than 50"
- "Upload this image as an asset and attach it to the hero section"
Setting Up in Claude Code
Add the MCP server using the CLI:
claude mcp add elmapicms \
  -e ELMAPI_API_URL=https://your-domain.com/api \
  -e ELMAPI_API_KEY=your-api-key \
  -e ELMAPI_PROJECT_ID=your-project-uuid \
  -- npx @elmapicms/mcp-server
That's it. Claude Code will automatically discover the available tools and resources.
Advanced Content Queries
The list_entries tool supports the full ElmapiCMS query API. You can filter, sort, paginate, and combine conditions, all through the MCP interface.
Operators
The where parameter supports 13 operators: eq, lt, lte, gt, gte, not, like, in, not_in, null, not_null, between, not_between.
Examples
Simple filter - find entries where title contains "guide":
{ "where": { "title": { "like": "guide" } } }
Multiple conditions - published products under $50:
{
  "where": {
    "price": { "lt": 50 },
    "in-stock": true
  }
}
OR group - entries tagged "clearance" OR related to a campaign:
{
  "where": {
    "or": [
      { "tags": "clearance" },
      { "campaign": { "name": "Summer Sale" } }
    ]
  }
}
Pagination and sorting:
{
  "sort": "price:asc,created_at:desc",
  "paginate": 12
}
Count only:
{
  "where": { "status": "published" },
  "count": true
}
You don't need to remember any of this syntax. Just tell your AI editor what you want. "Find all products under $50 that are in stock or on clearance, sorted by price." It will construct the right query using the MCP tools.
Built-in Resources
The MCP server includes 3 built-in resources that AI agents can read for context. These act as documentation that the AI consults automatically:
- Field Types Reference: All 16 field types, their options, validations, and common patterns. The AI reads this before creating fields so it knows the right
type,options, andvalidationsstructure. - Collections Guide: How collections work, singletons, reserved slugs, and best practices.
- Query Reference: Complete documentation on the
wheresyntax, all 13 operators, OR groups, relation filtering, sorting, and pagination.
This means the AI editor understands your CMS without you explaining it. It knows that a slug field needs options.slug.field to point to a text field, that richtext supports different editor types, and that group fields can be repeatable.
Example Workflow
Here's what a real workflow looks like in Cursor:
1. Set up the CMS structure
"Create a Blog Posts collection with: title (required text), slug (auto-generated from title, required, unique), content (rich text), excerpt (long text, max 200 chars), featured image (media), published (boolean). Also create a Categories collection with name and slug."
Cursor creates both collections with all fields, proper validations, and slug configuration in seconds.
2. Add content
"Create 3 sample blog posts about web development, each with a realistic title, slug, excerpt, and content. Set them as published."
Cursor creates the entries with AI-generated content that fits your field structure.
3. Build the frontend
"Read the blog-posts collection schema and build a Next.js page that lists all published posts sorted by date, with pagination."
Cursor reads your collection schema through MCP, then generates a typed frontend page that matches your exact fields.
4. Query and refine
"How many published blog posts do we have? Show me the ones with 'Next.js' in the title."
Cursor uses count and where filters to answer directly.
The AI handles all the CMS work while you focus on your frontend code and design.
Working with Multiple Projects
Each MCP server instance connects to one project. To work with multiple projects simultaneously, add separate entries in your config:
{
  "mcpServers": {
    "elmapicms-blog": {
      "command": "npx",
      "args": ["@elmapicms/mcp-server"],
      "env": {
        "ELMAPI_API_URL": "https://your-domain.com/api",
        "ELMAPI_API_KEY": "blog-token",
        "ELMAPI_PROJECT_ID": "blog-project-uuid"
      }
    },
    "elmapicms-store": {
      "command": "npx",
      "args": ["@elmapicms/mcp-server"],
      "env": {
        "ELMAPI_API_URL": "https://your-domain.com/api",
        "ELMAPI_API_KEY": "store-token",
        "ELMAPI_PROJECT_ID": "store-project-uuid"
      }
    }
  }
}
Token Abilities
Your API token controls what the AI can do:
| Ability | What it unlocks |
|---|---|
read | List and get collections, entries, assets |
create | Create entries, upload assets |
update | Update entries |
delete | Delete entries, delete assets |
admin | Create, update, and reorder collections and fields |
For the full experience, create a token with all five abilities.
Links
- npm package
- GitHub repository
- MCP Server documentation
- Model Context Protocol
- ElmapiCMS documentation
The MCP Server is open source and available on npm. Install it, connect your project, and let your AI editor do the heavy lifting.